How to run a Chrome DevTools performance audit in 2026
A Chrome DevTools performance audit is the workflow of recording a runtime trace in the Performance panel, running a Lighthouse 12 report against the page, and reading the resulting Core Web Vitals — LCP, INP, and CLS — to find the specific lines of code that are slowing the page down. In 2026, that workflow looks different than it did even a year ago: the Performance panel has an Insights sidebar that mirrors Lighthouse, FID is gone (INP replaced it in March 2024), the PWA category has been removed from Lighthouse 12, and Gemini-powered AI assistance now sits inside the panel itself.
This guide walks the whole audit end-to-end against current Chrome — what each panel surfaces, what the thresholds are, where the bottlenecks usually hide, and how to hand a performance finding off to the engineer who has to fix it.
Key takeaways
- The three Core Web Vitals in 2026 are LCP < 2.5s, INP < 200ms, CLS < 0.1. INP replaced FID on March 12, 2024.
- Lighthouse 12 (shipped in Chrome 126, May 2024) audits four categories: Performance, Accessibility, Best Practices, SEO. PWA is gone.
- The Performance panel's Insights sidebar (Chrome 134+) breaks LCP into four phases, flags forced reflow, and highlights render-blocking requests directly on the timeline.
- The AI assistance panel (opt-in from Chrome 137) explains trace events in plain language and suggests code-level fixes.
- A clean audit always pairs Lighthouse for orientation with the Performance panel for diagnosis — neither alone tells you what to change.
Why performance auditing belongs inside the QA loop
A feature that returns the correct response in 3.8 seconds is a broken feature. Google has factored Core Web Vitals into search ranking since 2021, and pages that fail the "good" threshold across CWV see measurable ranking penalties on competitive queries.
Performance regressions also have an awkward shape for QA teams. They rarely produce a hard error — the build passes, the test suite stays green, and the bug reaches users as "the dashboard feels sluggish." Catching that class of regression early means treating performance numbers as test outputs: measured, tracked, and failed against a budget.
Setting up Chrome DevTools for a clean audit
Five minutes of setup will save you an hour of chasing measurement artefacts.
Use an incognito window. Extensions inject JavaScript into every page and routinely add 200–600ms of load time. Incognito disables them by default.
Disable cache. In the Network panel, tick Disable cache. This forces every audit to reflect a first-visit experience — what most users get, and what Google measures.
Close other tabs. A noisy tab can steal CPU from the page you're profiling. Trace results vary by 10–15% between a quiet and a busy browser.
Pick mobile by default. Roughly two-thirds of web traffic is mobile in 2026, and mobile devices are slower in ways your laptop won't surface. Configure Lighthouse and Performance panel throttling to mobile from the start.
The Performance panel: recording a trace
The Performance panel records every JavaScript call, layout, paint, network request, and rendered frame across a window of time, then lets you replay the timeline at sub-millisecond resolution.
Recording a profile
For a page-load profile, click the circular reload icon (top-left of the panel) — this starts a trace, reloads the page, and stops automatically. For an interaction profile (scroll, click, form submit), click record (or Cmd+E / Ctrl+E), perform the action, then click Stop. Keep recordings short. A useful interaction trace is 3–8 seconds — longer than that and the flame chart becomes unreadable.
Reading the flame chart
The recording produces a stacked view broken into tracks:
- Overview strip — miniature CPU activity, frames per second, and network requests. Red bars in the FPS row mean dropped frames the user saw as jank.
- Main thread track — JavaScript execution, layout, style recalculation, and paint operations as a flame chart. Tall stacks mean deeply nested calls. Wide bars mean long-running tasks. Any task over 50ms is a Long Task and gets a red triangle — the most common cause of poor INP.
- Network track — each request as a coloured bar. Gaps between blocking resources are usually where you fix LCP.
- Frames track — rendered frames as screenshots. Clicking a frame shows what the user saw at that moment.
The fastest path from "page is slow" to "this function is slow" is the Bottom-Up tab. Sort by Self Time to find functions that spent the most time executing their own logic. A function that takes 4ms in isolation but runs 600 times during scroll will dominate Self Time — exactly the pattern you want to surface. The Summary tab gives the categorical breakdown — Scripting, Rendering, Painting, System, Idle. If Scripting dominates, the fix lives in JavaScript. If Rendering is high, you're looking at layout thrash. If Idle dominates and the page still feels slow, the bottleneck is the network.
The Insights sidebar: Lighthouse-style diagnostics inside the trace
Chrome 134 rebuilt the Performance panel around an Insights sidebar that surfaces the same diagnostics Lighthouse runs, pinned to the specific trace you just recorded. It's the most useful 2025 addition to DevTools, and most teams who learned the Performance panel pre-2024 don't know it exists.
After recording, open the Insights tab in the left sidebar. Each insight is clickable — clicking highlights the corresponding event in the trace and pans the timeline to it.
The insights most worth knowing:
- LCP by phase — breaks Largest Contentful Paint into its four canonical subparts: Time to First Byte (server response), Resource load delay (gap between TTFB and when the browser starts fetching the LCP image), Resource load duration (download time), and Element render delay (time between the resource finishing and actually being painted). Each phase points at a different fix.
- LCP request discovery — overlays the timeline with markers showing when the LCP image could have started loading, and how much time you would have saved.
- INP by phase — splits each interaction into input delay, processing duration, and presentation delay.
- Render-blocking requests — flags every resource that delayed the initial paint, with a potential-savings estimate.
- Forced reflow — surfaces interleaved DOM reads and writes that force synchronous layout. The most common cause of a janky scroll handler.
- Optimize DOM size — flags pages where the DOM is large or deep enough to slow style and layout. Common in dashboards with un-virtualised tables.
- Document request latency and third parties — call out a slow first byte or a third-party script eating the main thread.
Passed insights collapse into a separate section at the bottom. If the top of the list is empty, the page is probably fine.
Lighthouse 12: the structured audit
Lighthouse runs the same diagnostics as the Insights sidebar but produces a structured, scoreable report across four categories. It's the right tool when you want a single number to track across releases, a shareable artefact for a ticket, or a CI gate.
Running Lighthouse
- Open DevTools and select the Lighthouse tab.
- Pick the categories: Performance, Accessibility, Best Practices, SEO. (The PWA category was removed in Lighthouse 12, which shipped with Chrome 126 in May 2024 — if your audit guide still mentions it, the guide is stale.)
- Choose Mobile unless you have a specific reason to pick Desktop. Mobile applies network and CPU throttling that approximates a mid-tier Android device on a 4G connection. It's the more honest score.
- Click Analyze page load.
Lighthouse reloads the page under controlled conditions and produces a report with three sections per category.
Reading the report
- Metrics — the Core Web Vitals (LCP, INP, CLS) plus supporting lab metrics: Time to First Byte (TTFB), First Contentful Paint (FCP), Total Blocking Time (TBT), Speed Index. Each is colour-coded green / orange / red against current thresholds.
- Opportunities — quantified fixes with estimated time savings in seconds. "Eliminate render-blocking resources — save 1.2s," for example. Sorted by impact, so the top three usually account for most of the available wins.
- Diagnostics — context that doesn't map to a specific time saving but indicates a problem: enormous network payloads, oversized DOM, long main-thread work, deprecated API usage.
What changed in Lighthouse 12 beyond PWA removal: the is-crawlable audit is now weighted heavily enough to fail SEO on its own; viewport and font-size moved from SEO to Best Practices (they're UX issues, not search issues); tap-targets was replaced with target-size and moved to Accessibility, aligning with WCAG 2.2's Target Size (Minimum) success criterion.
Lighthouse score weighting (Performance)
The Performance score is a weighted average of five lab metrics. As of Lighthouse 12 the weights are:
| Metric | Weight |
|---|---|
| Largest Contentful Paint (LCP) | 25% |
| Total Blocking Time (TBT) | 30% |
| Cumulative Layout Shift (CLS) | 25% |
| First Contentful Paint (FCP) | 10% |
| Speed Index | 10% |
INP is measured in the lab via TBT — Lighthouse can't run an interaction profile in a non-interactive simulation, so it uses TBT as a proxy for runtime responsiveness. For real INP, use the Chrome User Experience Report (CrUX) or PageSpeed Insights' field data section.
Export the report as JSON or HTML from the menu in the top-right of the panel. A common CI pattern is to run Lighthouse CI against staging on every PR and fail the build when a score drops by more than a configured budget.
Core Web Vitals in 2026: what the thresholds mean
The three metrics that drive both Lighthouse scoring and Google's page-experience ranking signal.
| Metric | Good | Needs improvement | Poor |
|---|---|---|---|
| Largest Contentful Paint (LCP) | < 2.5s | 2.5–4.0s | > 4.0s |
| Interaction to Next Paint (INP) | < 200ms | 200–500ms | > 500ms |
| Cumulative Layout Shift (CLS) | < 0.1 | 0.1–0.25 | > 0.25 |
A page passes the Core Web Vitals assessment when the 75th percentile of real-user measurements falls in the "good" range for all three. The 75th-percentile rule is why a lab Lighthouse score can be green while field data on PageSpeed Insights is red — labs measure one run on one device, field data aggregates real users including the bottom quartile.
Largest Contentful Paint (LCP)
LCP measures when the largest visible element in the viewport finishes rendering — typically a hero image, heading, or video poster. The four common causes of poor LCP: slow TTFB (server response), render-blocking JavaScript and CSS, an unoptimised LCP image (no AVIF/WebP, no fetchpriority="high", no preload hint), and client-side rendering of above-fold content. Find it via the LCP by phase insight — whichever phase dominates points at the fix.
Interaction to Next Paint (INP)
INP replaced First Input Delay on March 12, 2024. FID measured only the delay before the browser started processing the first input — a misleading number, because a user could click, see immediate processing start, and still wait two seconds for the screen to update. INP measures the full latency (input delay + processing duration + presentation delay) for every interaction across the page lifecycle, then reports roughly the worst.
Poor INP usually traces to Long Tasks blocking the main thread when the user clicks, synchronous event handlers doing too much work (re-rendering large lists, layout-forcing reads), or heavy hydration on initial load. Profile by recording a trace, performing the interaction, and reading the INP by phase insight — gaps between input markers and the next paint are the latency you're trying to compress.
Cumulative Layout Shift (CLS)
CLS sums the unexpected layout shifts during the page lifecycle, weighted by how much of the viewport moves and how far. The Performance panel's Experience track marks each shift in red — click one and DevTools shows the elements that moved. The usual culprits: images and videos without explicit width and height, ads or iframes that inject themselves into the layout, web fonts that swap in and resize text, and animating layout properties (top, left, width, height) instead of transform and opacity.
Network and CPU throttling: matching the user's reality
A developer laptop on office Wi-Fi is the most generous environment a page will ever see. Throttling forces the audit to reflect users on a 5-year-old Android over 4G.
The Network panel's throttling dropdown offers Fast 4G, Slow 4G, 3G, and Offline presets. For CPU, open the Performance panel settings (gear icon) and set throttling to 4× slowdown to approximate a mid-tier Android, or 6× for a low-end device. Lighthouse Mobile applies both automatically.
Two patterns become visible under throttling that are invisible at full speed: large JavaScript bundles that parse fast enough to hide on a developer machine but take 800ms+ on a phone, and race conditions in lazy-loaded chunks that are fine on fast networks but break when a font request takes 1.2s.
The AI assistance panel: trace explanation in plain language
The AI assistance panel landed in DevTools in Chrome 137 as an opt-in feature — a Gemini-backed conversational interface sitting alongside the Elements, Network, Sources, and Performance panels. What it does well is explaining a confusing trace event. Right-click an event on the flame chart, choose Ask AI, and the panel returns a plain-language explanation of what the function was doing, why it might be slow, and what the typical fixes are. For developers new to the Performance panel, that bridges the "I see a wide red bar, now what" gap.
It's less reliable for prescriptive fixes — Gemini will sometimes confidently recommend an optimisation that doesn't apply to your framework. Treat the explanation as orientation and verify the suggested fix against your own code. The panel sends trace data to Google's servers, so check your team's policy on which staging environments you can use it against.
A parallel development in late 2025: the Chrome DevTools MCP server exposes the Performance panel's recording and analysis API to AI coding agents. An agent in Claude Code or Cursor can call performance_start_trace, navigate a flow, then call performance_analyze_insight and get the same insights the sidebar shows — but in a machine-readable form an agent can act on.
A worked example: profiling a slow product page
A Series B e-commerce team reports the product detail page "feels slow" on mobile. The audit:
1. Lighthouse Mobile baseline. Run against the staging URL with cache disabled. Result: Performance 47, LCP 4.1s, INP 320ms, CLS 0.18.
2. Performance trace. Reload with the Performance panel recording. Open the Insights sidebar. LCP by phase breaks the 4.1s as: TTFB 280ms, resource load delay 2,100ms, resource load duration 850ms, element render delay 870ms.
3. Diagnose. The 2,100ms resource load delay is the dominant phase — the LCP image isn't being requested until late in the page lifecycle. LCP request discovery flags it: the image could have started loading 1.9 seconds earlier with a <link rel="preload"> hint or fetchpriority="high".
4. Layout shift. Switch to the Experience track. Two layout shifts at 1.3s and 2.4s contribute 0.16 of the 0.18 CLS. The first is a hero image without width and height pushing content down. The second is a "free shipping" banner injecting itself above the fold.
5. Interactivity. Record a separate trace clicking "Add to cart". INP by phase: processing duration 290ms — the click handler is doing too much synchronous work, including a re-render of the full product list.
6. Fixes to file. Three tickets: add fetchpriority="high" to the LCP image and a preload hint; add explicit dimensions to the hero and reserve space for the banner; debounce the add-to-cart handler and move the cart update to a microtask.
7. Re-audit. After the fixes ship to staging, repeat. Performance score climbs to 86, LCP 2.1s, INP 180ms, CLS 0.05 — all green.
That's the loop. Lighthouse to orient, Performance panel with the Insights sidebar to diagnose, throttling to match user reality, and concrete code fixes against named files.
Connecting the audit to your bug-reporting workflow
A performance audit is only as useful as what reaches the developer who has to fix it. This is where most audits collapse. The QA who ran the trace closes DevTools, opens Jira, and writes "LCP is slow on the product page" — and the developer reads it three days later with none of the context needed to reproduce.
Performance bugs are especially brittle in this handoff. A Long Task that only manifests on the third scroll, a CLS event triggered by a late-loading ad, a memory leak that only shows after 10 minutes of use — none of those survive a ticket that just says "page is slow." The developer ends up reproducing the audit from scratch, which is what the QA already did.
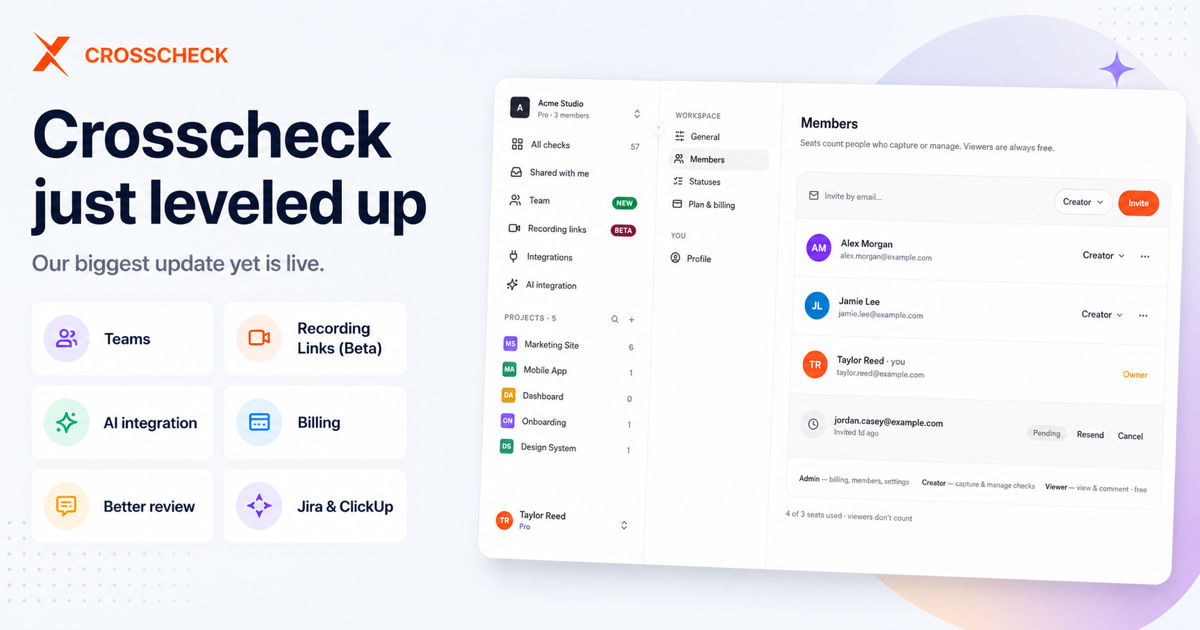
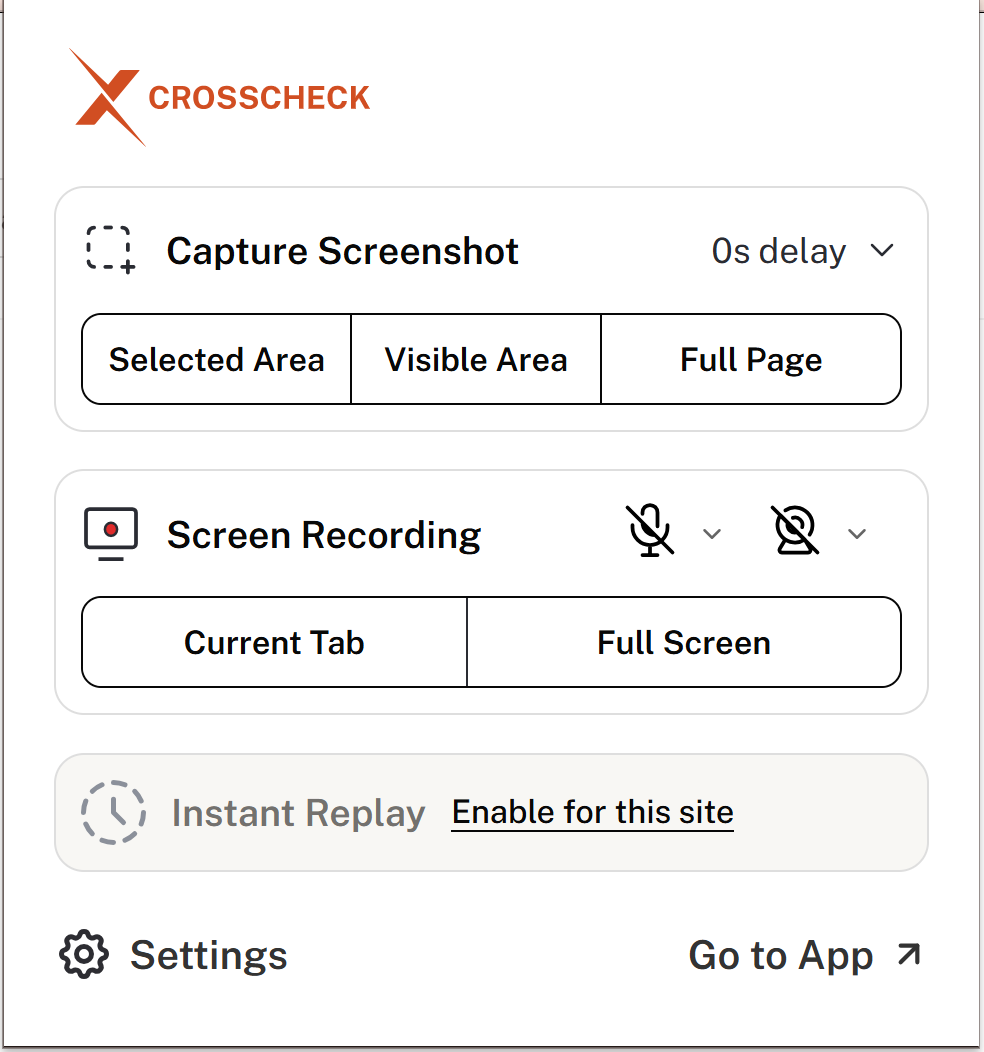
Crosscheck captures that context as part of the bug report. When you file a performance-related bug, Crosscheck records the network requests with timing, the console output, the user actions that led to the issue, and a full screen recording of the session — all attached to the Jira / Linear / GitHub / ClickUp ticket automatically. The developer gets the trace conditions, not a description of them.
For teams running performance audits as part of release QA, the pattern that works is: run Lighthouse and the Performance panel to find the issue, then file the bug with Crosscheck so the engineer inherits the reproduction environment. The audit becomes a one-pass workflow instead of a back-and-forth.
For a deeper look at how performance regressions get caught in modern QA workflows, see Crosscheck's guide to SQA methodologies and the perfect bug report template for the data that turns a slow-page complaint into a fix.
FAQ
How do I run a Chrome DevTools performance audit?
Open DevTools in an incognito window (extensions skew measurements), go to the Lighthouse tab, pick the Performance category, choose Mobile, and click Analyze page load. For deeper diagnosis, switch to the Performance tab, click the reload icon to record a page load, then open the Insights sidebar on the left to see categorised diagnostics with timeline overlays.
What are the current Core Web Vitals thresholds?
In 2026: LCP under 2.5 seconds, INP under 200 milliseconds, CLS under 0.1 — measured at the 75th percentile of real users. INP replaced FID as a Core Web Vital on March 12, 2024.
Is the PWA category still in Lighthouse?
No. PWA was removed in Lighthouse 12, which shipped with Chrome 126 in May 2024. Current Lighthouse audits cover four categories: Performance, Accessibility, Best Practices, and SEO. For PWA testing, Chrome's installability docs cover what Lighthouse used to.
What's the difference between FID and INP?
FID measured only the delay before the browser started processing the first input. INP measures the full latency — input delay plus processing time plus presentation delay — for every interaction, then reports roughly the worst. It's a more honest reflection of how responsive a page actually feels, which is why Google replaced FID with it.
Why is my Lighthouse Mobile score so much lower than Desktop?
Lighthouse Mobile applies 4× CPU throttling and a Slow 4G network profile to simulate a mid-tier Android. Desktop runs at your machine's actual speed. Mobile is the closer match to what most users experience.
How do I find which line of code is causing a Long Task?
In the Performance panel, find the Long Task in the main thread track (red triangle), click it to expand the flame chart, then click the most expensive function call inside it — the bottom panel shows the source file and line. The Bottom-Up tab sorted by Self Time also finds the most expensive functions across the whole trace.
Can I run Lighthouse in CI?
Yes. Lighthouse CI runs against your staging URL on every PR, compares the score against a configured budget, and fails the build when performance regresses.
Start auditing performance like a fix is on the line
A Chrome DevTools performance audit is fast to run and slow to act on — most teams find issues in 20 minutes and then spend three weeks deciding which ones to fix. The shortcut is treating the audit output as a bug report. Run Lighthouse against staging, open the Performance panel for the failures Lighthouse flags, and file each one as a Jira or Linear ticket the same day, with the trace conditions attached.
Crosscheck makes that last step a 10-second action — record the page, capture the network and console state, and the bug arrives in your tracker with everything the developer needs to reproduce it. For QA teams running performance work as part of release sign-off, it closes the gap between finding a slow page and getting it fixed.