The ClickUp integration lets you create ClickUp tasks directly from any check in Crosscheck. Link bugs and recordings to your ClickUp workspace so your team can track issues without leaving their project management tool.
Connecting ClickUp
Before you connect
Make sure you already have a ClickUp account and workspace set up. If you do not have one yet, create it on clickup.com first — Crosscheck needs an existing workspace to link to.
1
Open the Integrations page
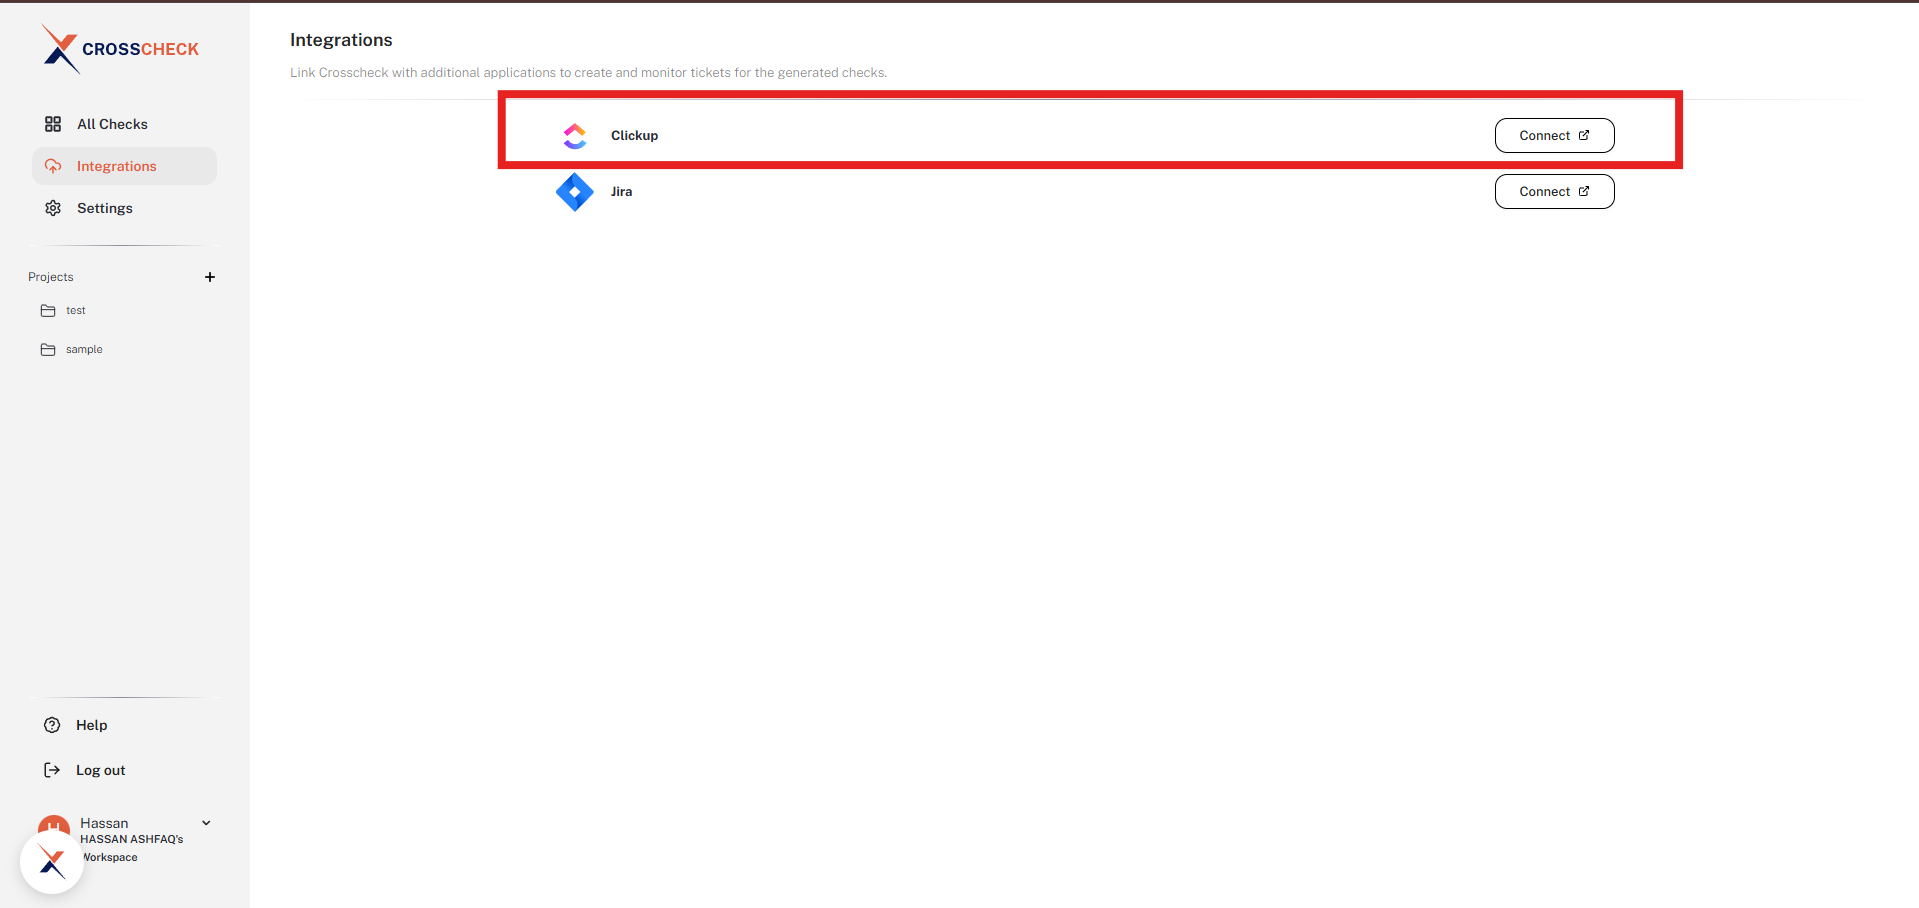
Click Integrations in the sidebar of the Crosscheck dashboard. On the ClickUp row, click the Connect button on the right. You will be redirected to ClickUp.
Click Connect on the ClickUp row to start the OAuth flow.
2
Log in to ClickUp
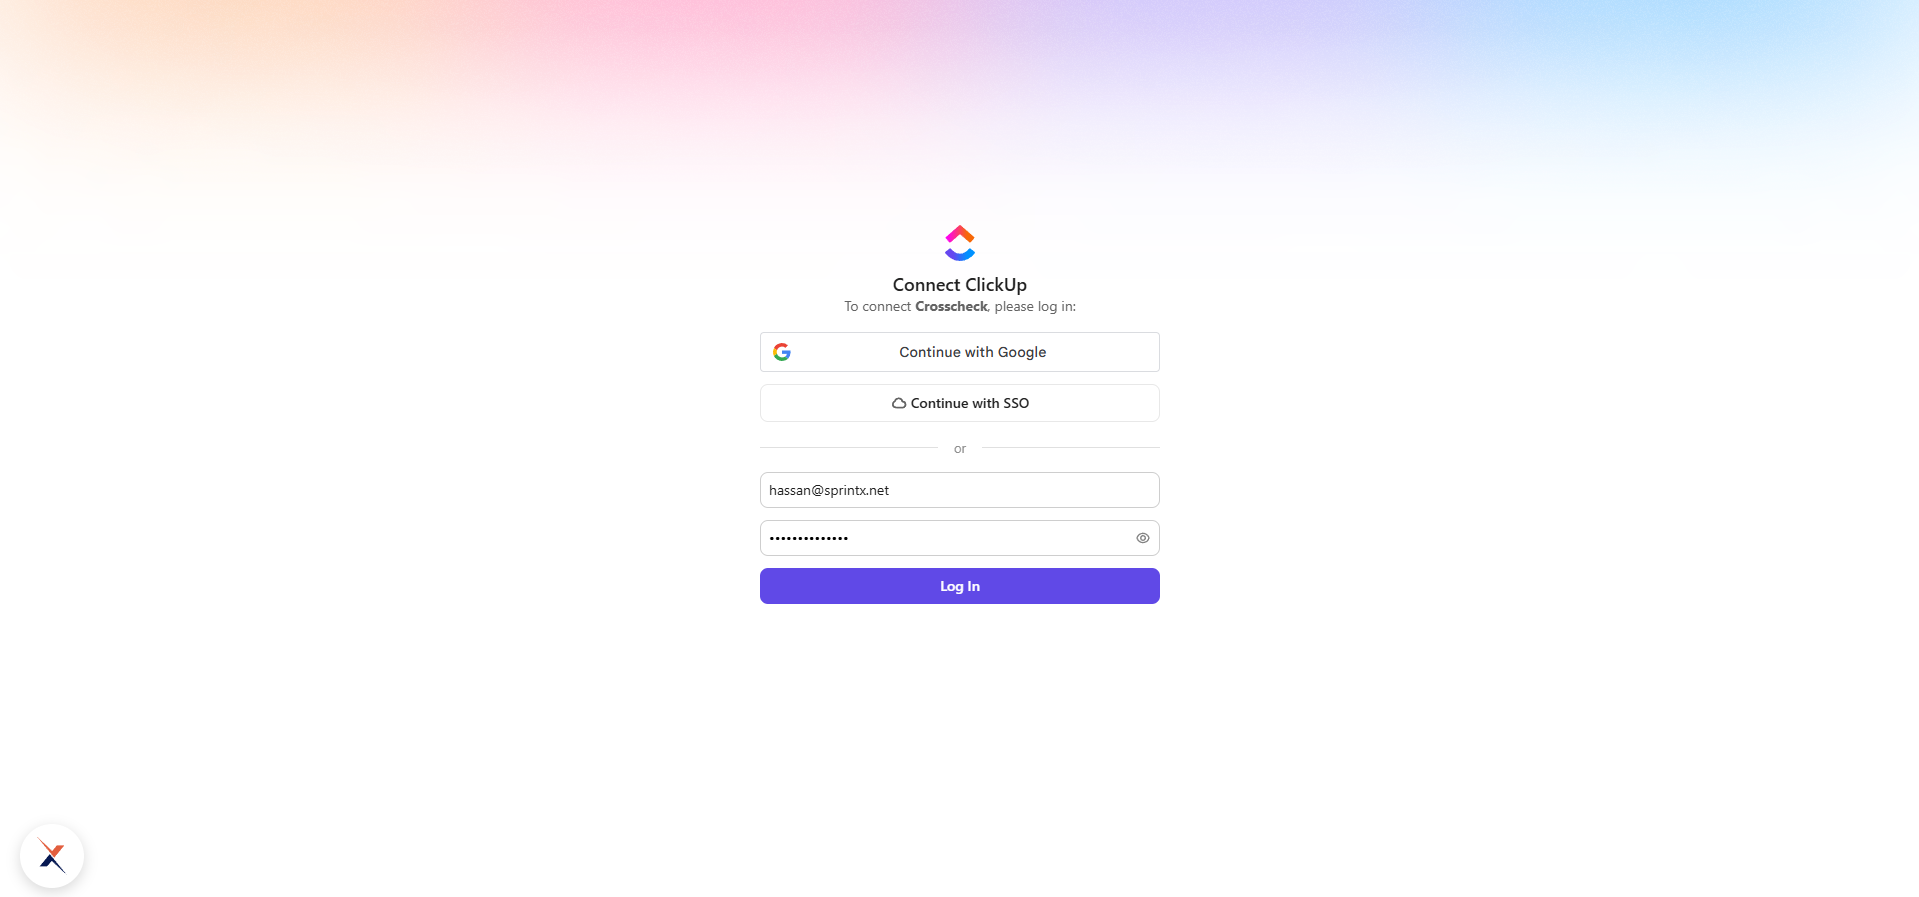
On the Connect ClickUp screen, log in to your ClickUp account using Continue with Google, Continue with SSO, or your email and password.
Sign in to ClickUp so it can authorize Crosscheck.
3
Select a workspace
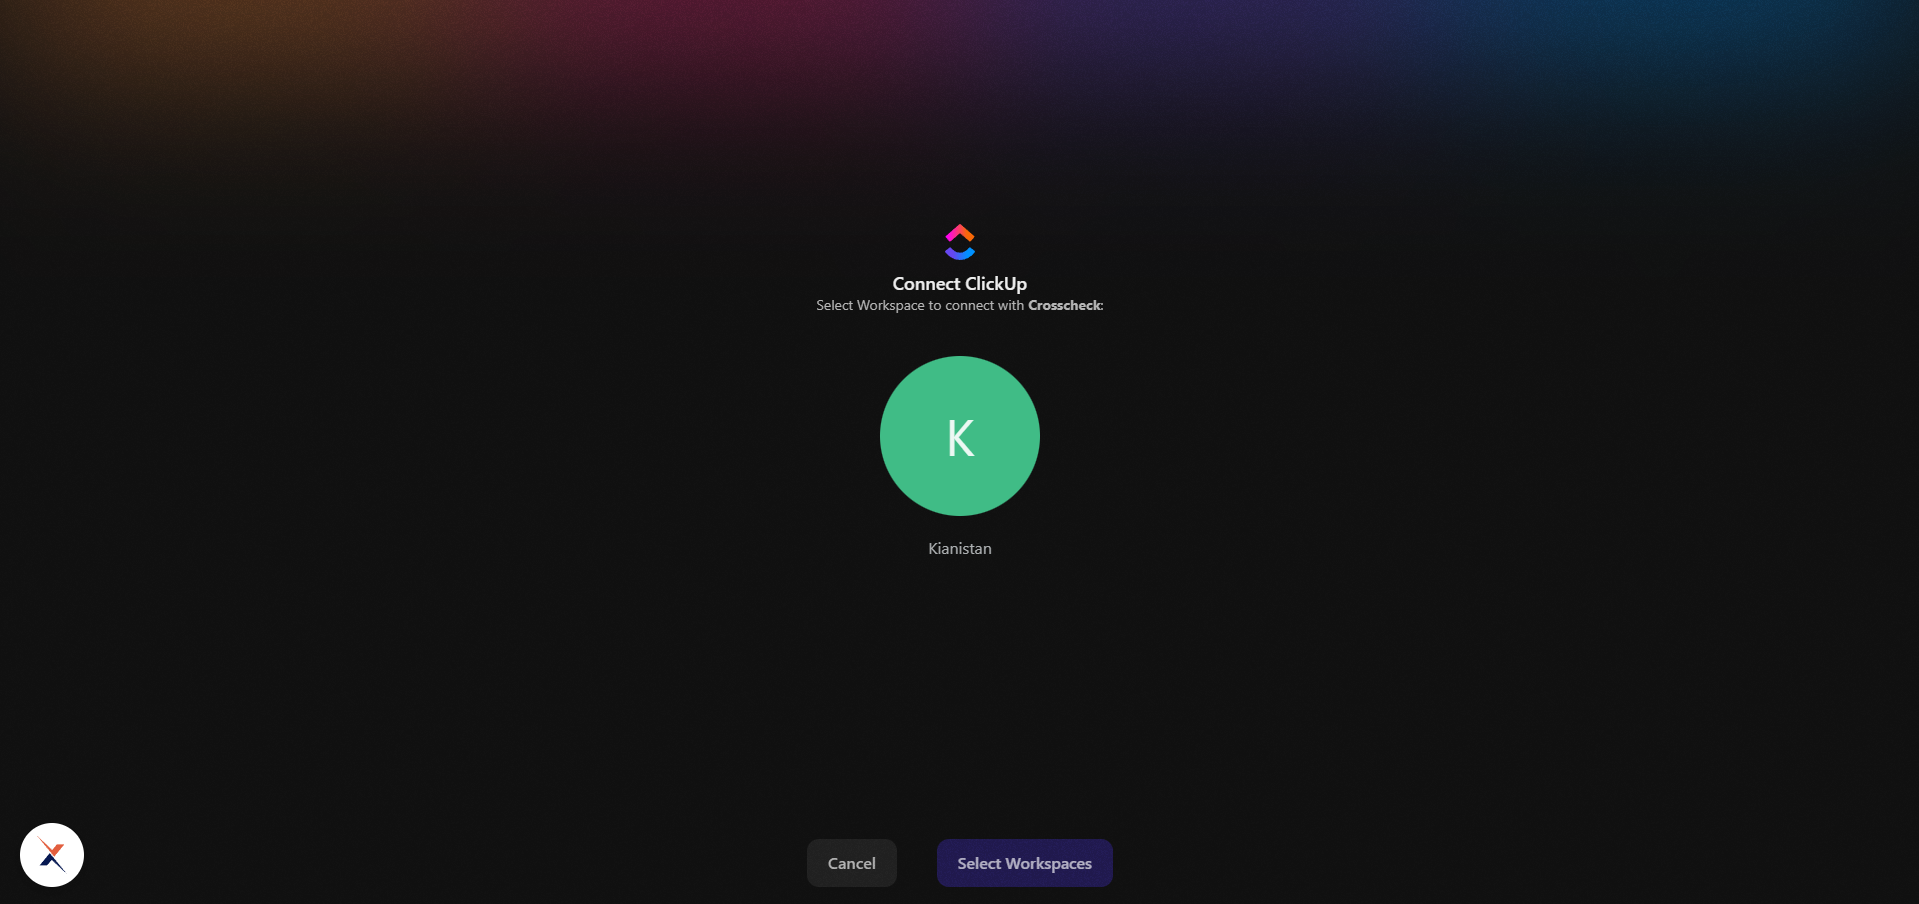
ClickUp will show the workspaces you have access to. Click the workspace you want to use with Crosscheck so it becomes highlighted (selected).
Click your workspace to select it.
4
Connect the workspace
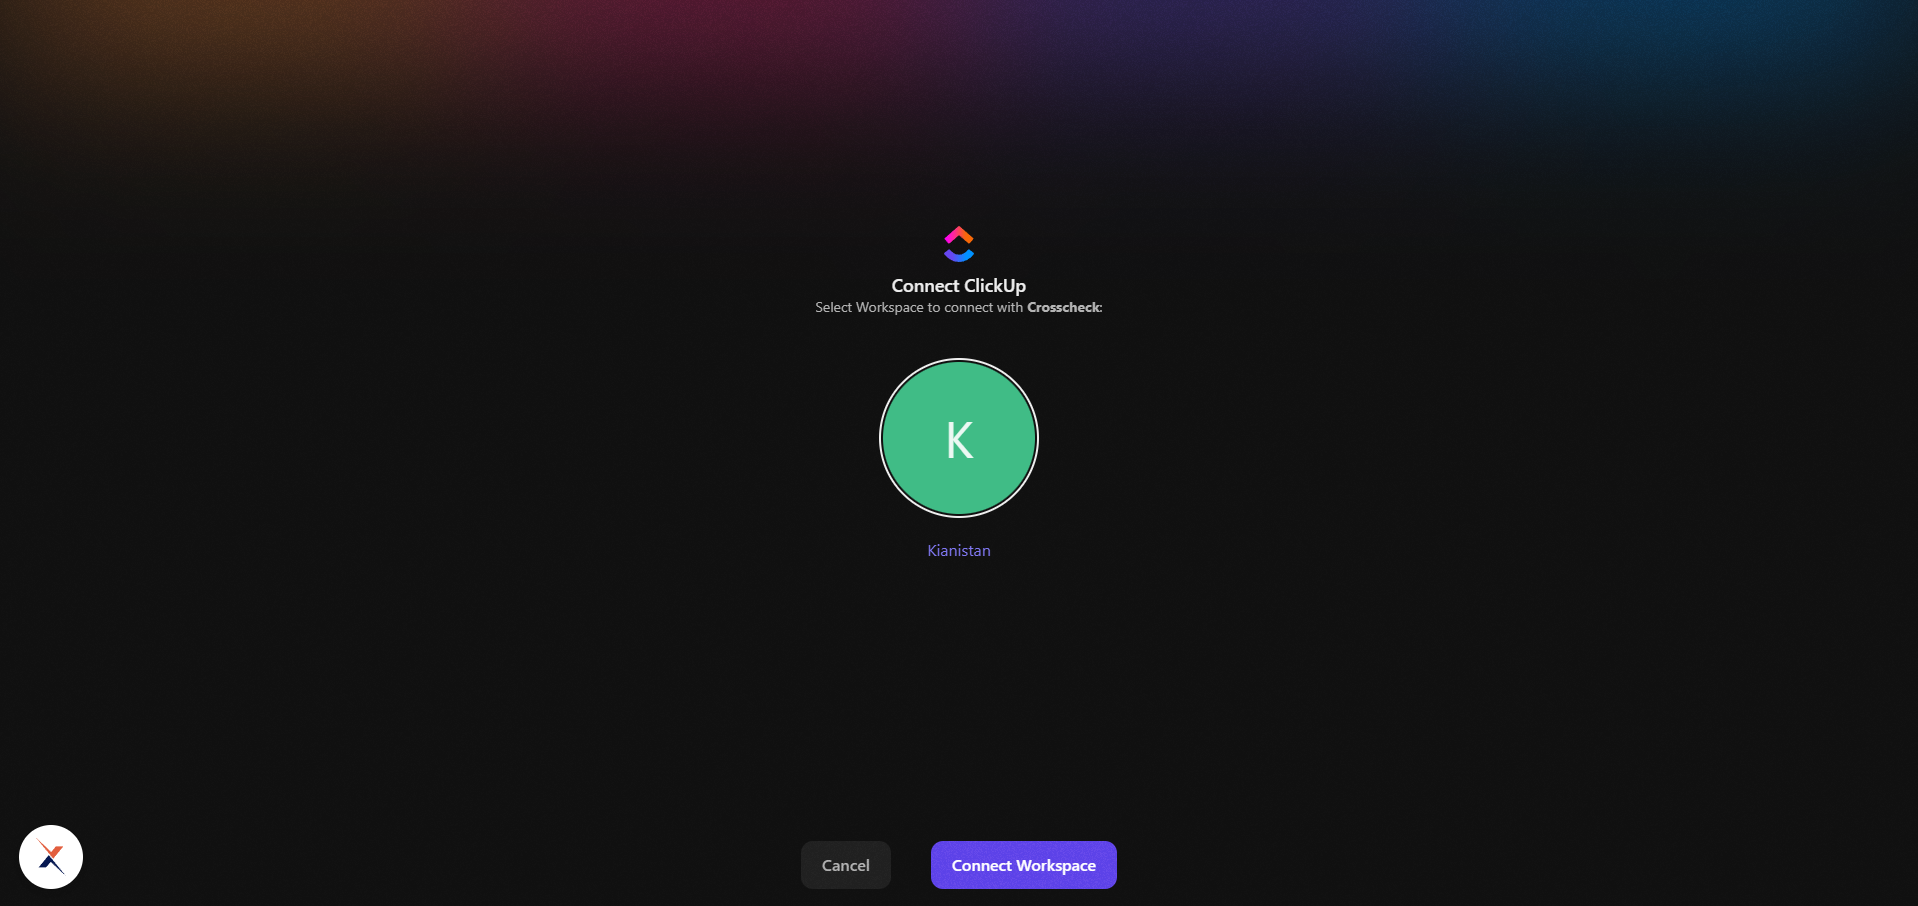
Once a workspace is selected, the bottom button changes from Select Workspaces to Connect Workspace. Click it to authorize Crosscheck for that workspace.
With a workspace selected, click Connect Workspace.
5
Confirm the connection
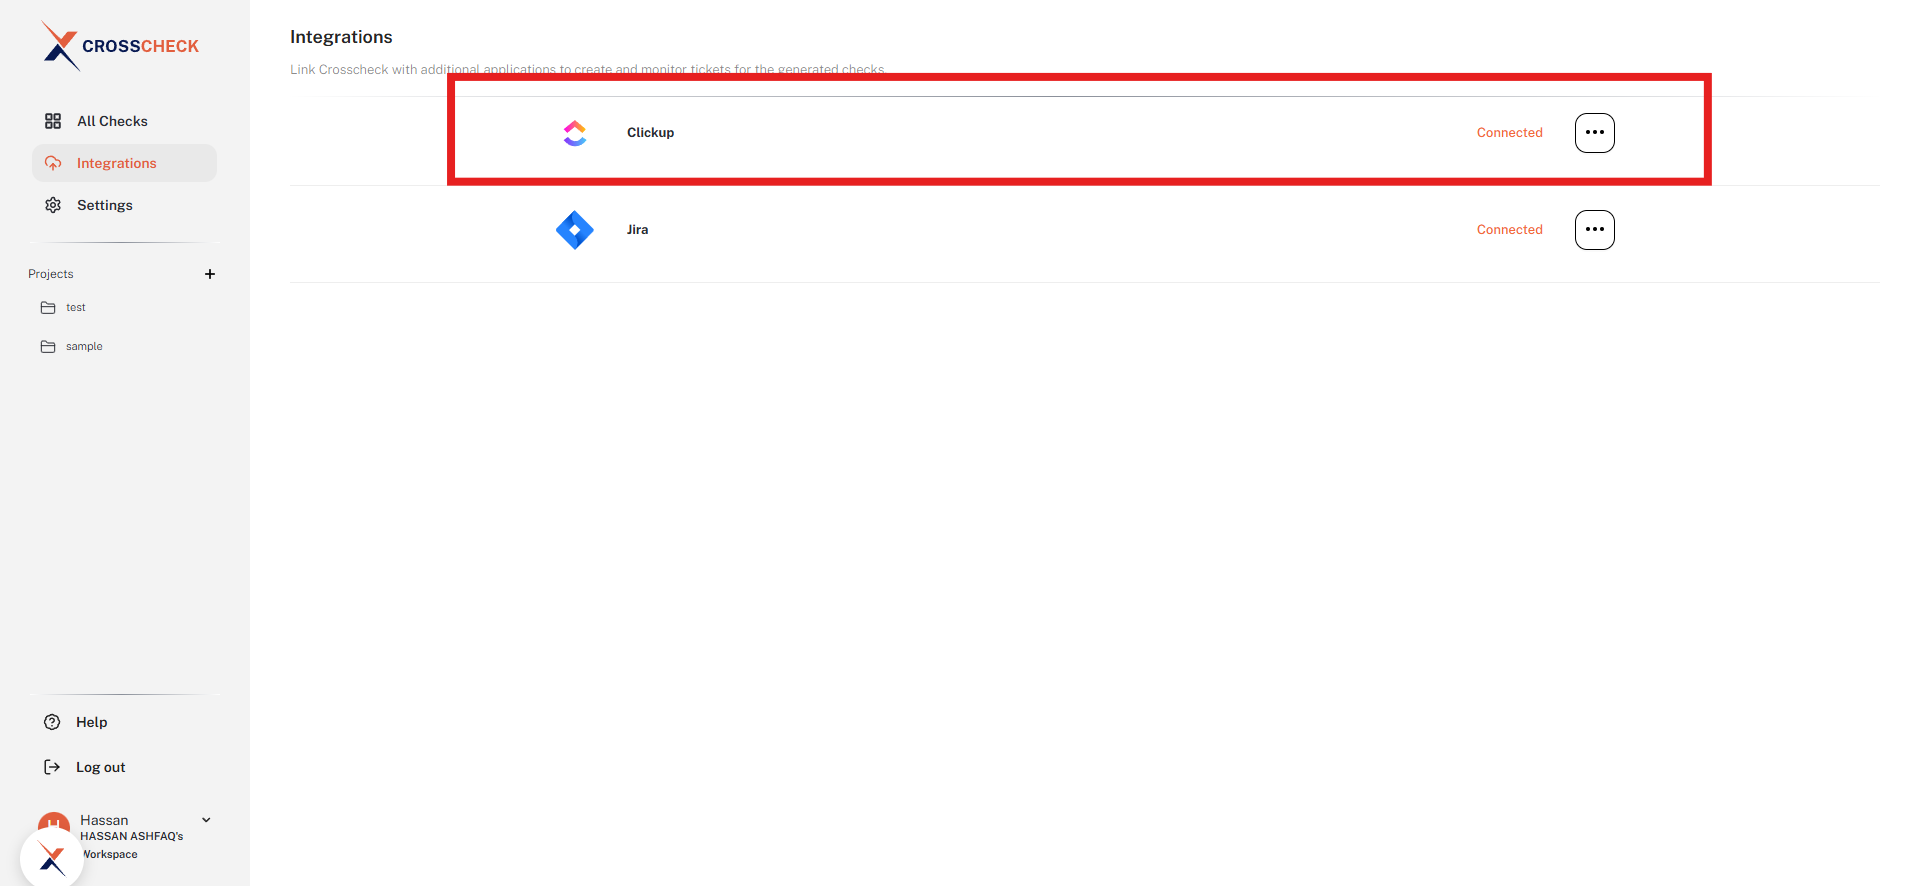
You will be redirected back to the Integrations page in Crosscheck. The ClickUp row will now show Connected with a … menu for managing the connection.
ClickUp is now connected and ready to use.
Creating a ClickUp Task from a Check
Once ClickUp is connected, you can create a task from any check in two ways: from the … (kebab) menu on a check card in the All Checks grid, or from the … menu in the top-right of the check detail view. Both paths open the same Create Task dialog.
Before you create a task
For a smooth flow, make sure your ClickUp workspace already has at least one Space, Folder, and List set up, and that the user you want to assign the task to is a member of that workspace. Crosscheck only shows locations and assignees that already exist in ClickUp — it does not create them for you.
Option 1 — From the grid view
1
Open the kebab menu on a check card
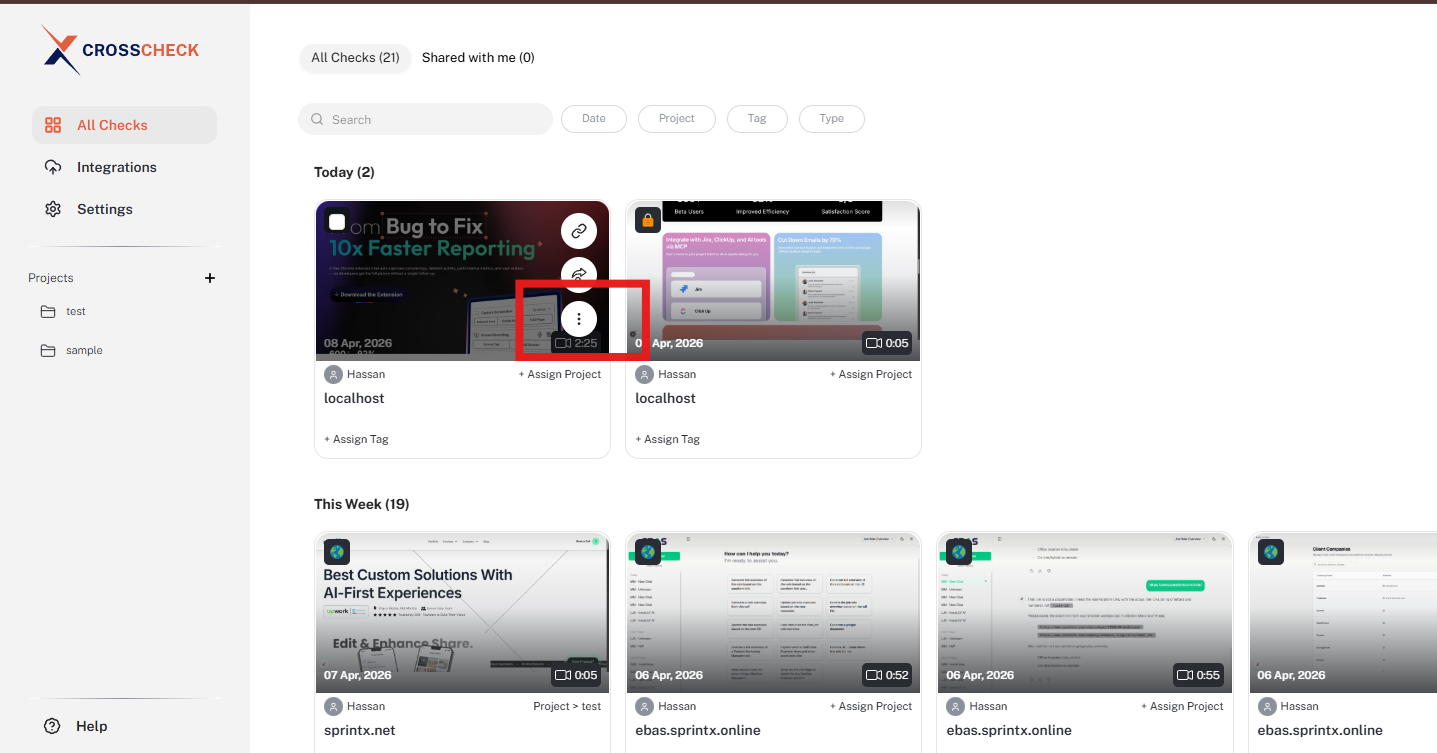
On the All Checks grid, hover over the check you want to report and click the … (kebab) icon on the thumbnail.
Click the kebab icon on a check card to open its actions menu.
2
Click Create Task
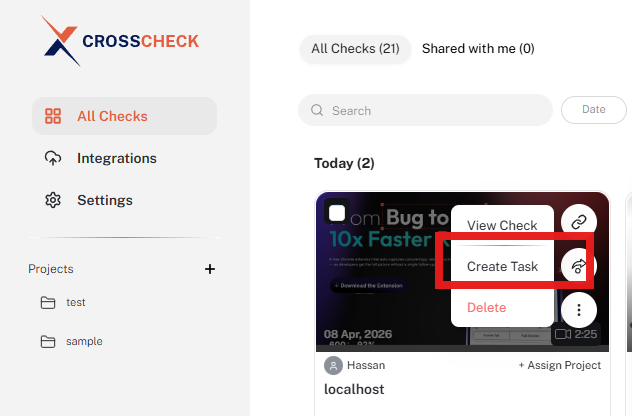
From the menu, select Create Task.
Choose Create Task from the check's actions menu.
3
Choose ClickUp as the application
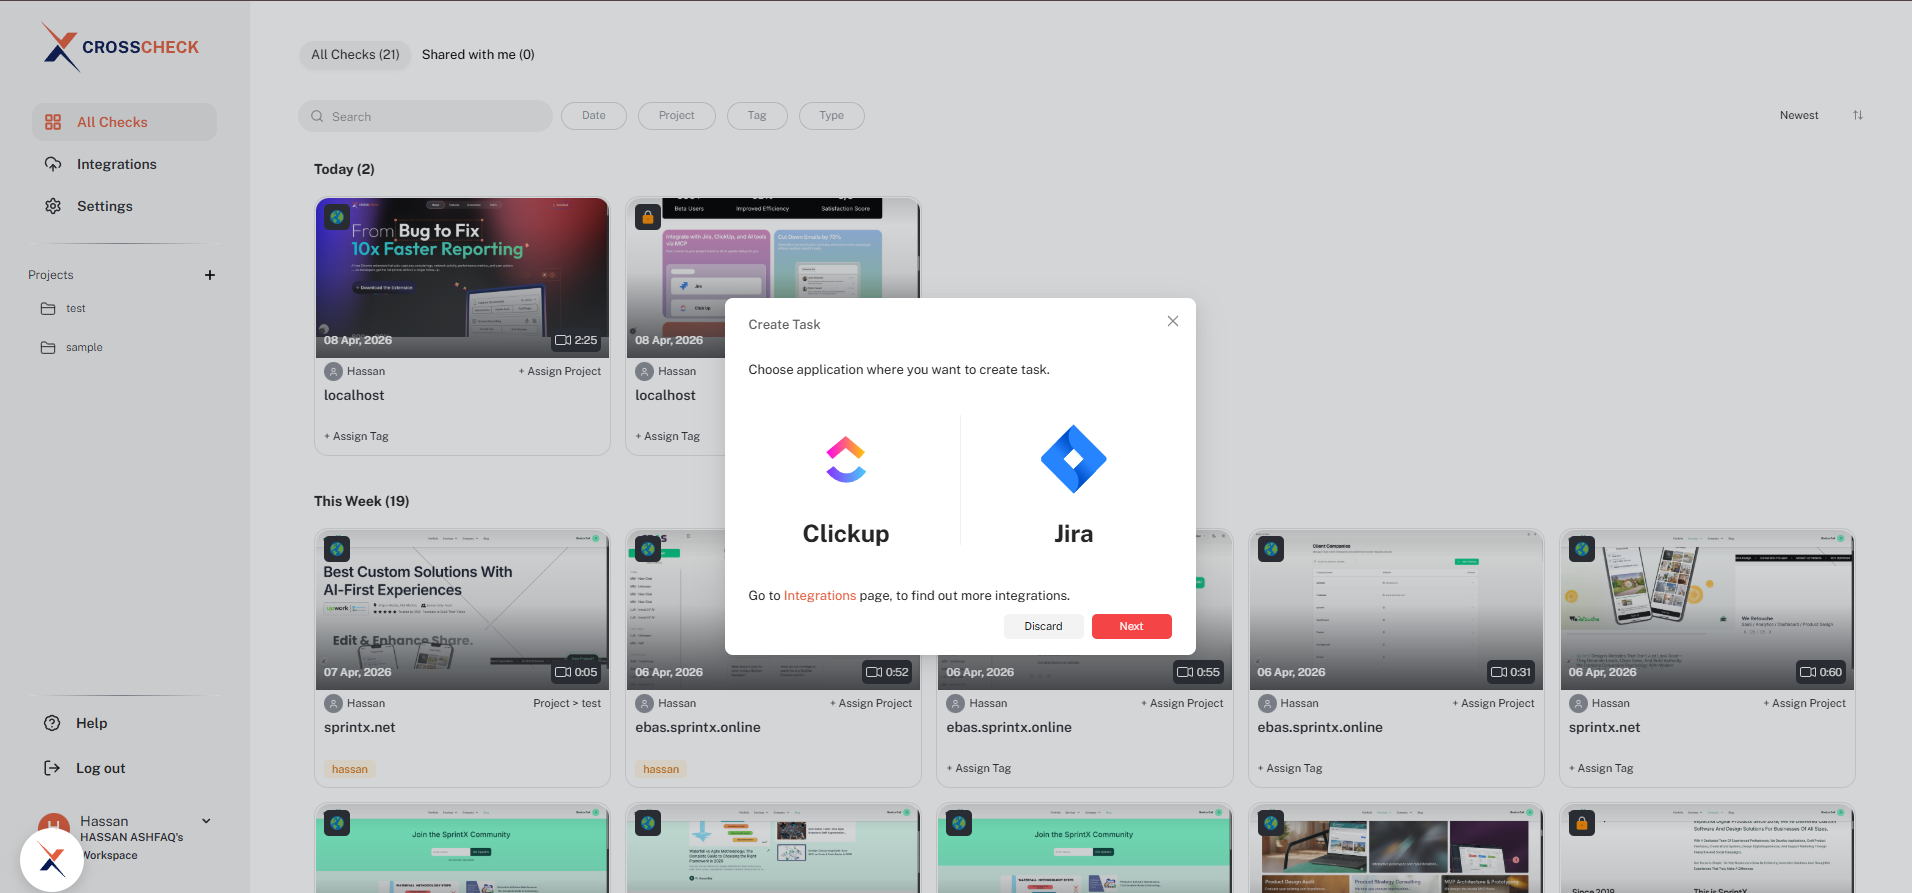
The Create Task dialog asks where you want to create the task. Select ClickUp and click Next. If ClickUp is not connected yet, use the Integrations link in the dialog to set it up first.
Pick ClickUp as the target application, then click Next.
Option 2 — From the check detail view
1
Open a check
Click any check in the grid to open its detail view.
2
Open the actions menu and click Create Task
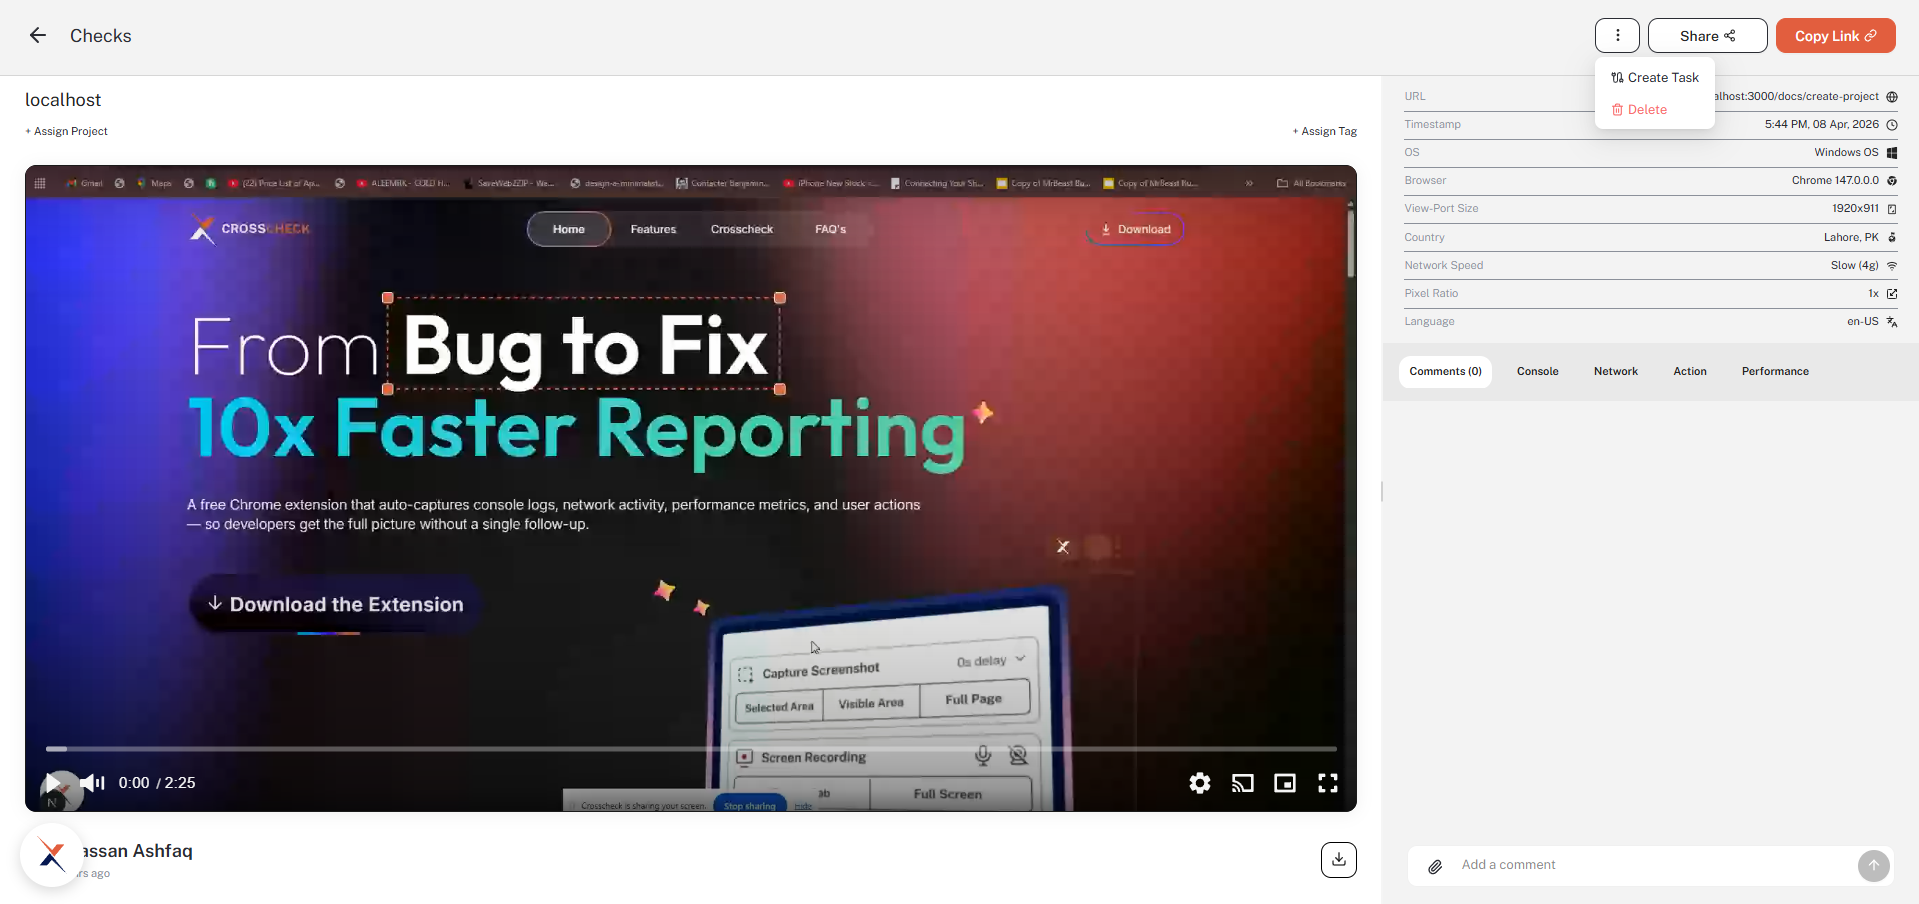
In the top-right of the detail view, click the … menu next to Share and Copy Link, then choose Create Task. The same Create Task dialog will open — pick ClickUp and click Next to continue.
From the detail view, the kebab menu also exposes Create Task.
Filling in the Create Task form
After selecting ClickUp from either entry point, the Create Task form opens. Fill it in step by step:
1
Pick a Location
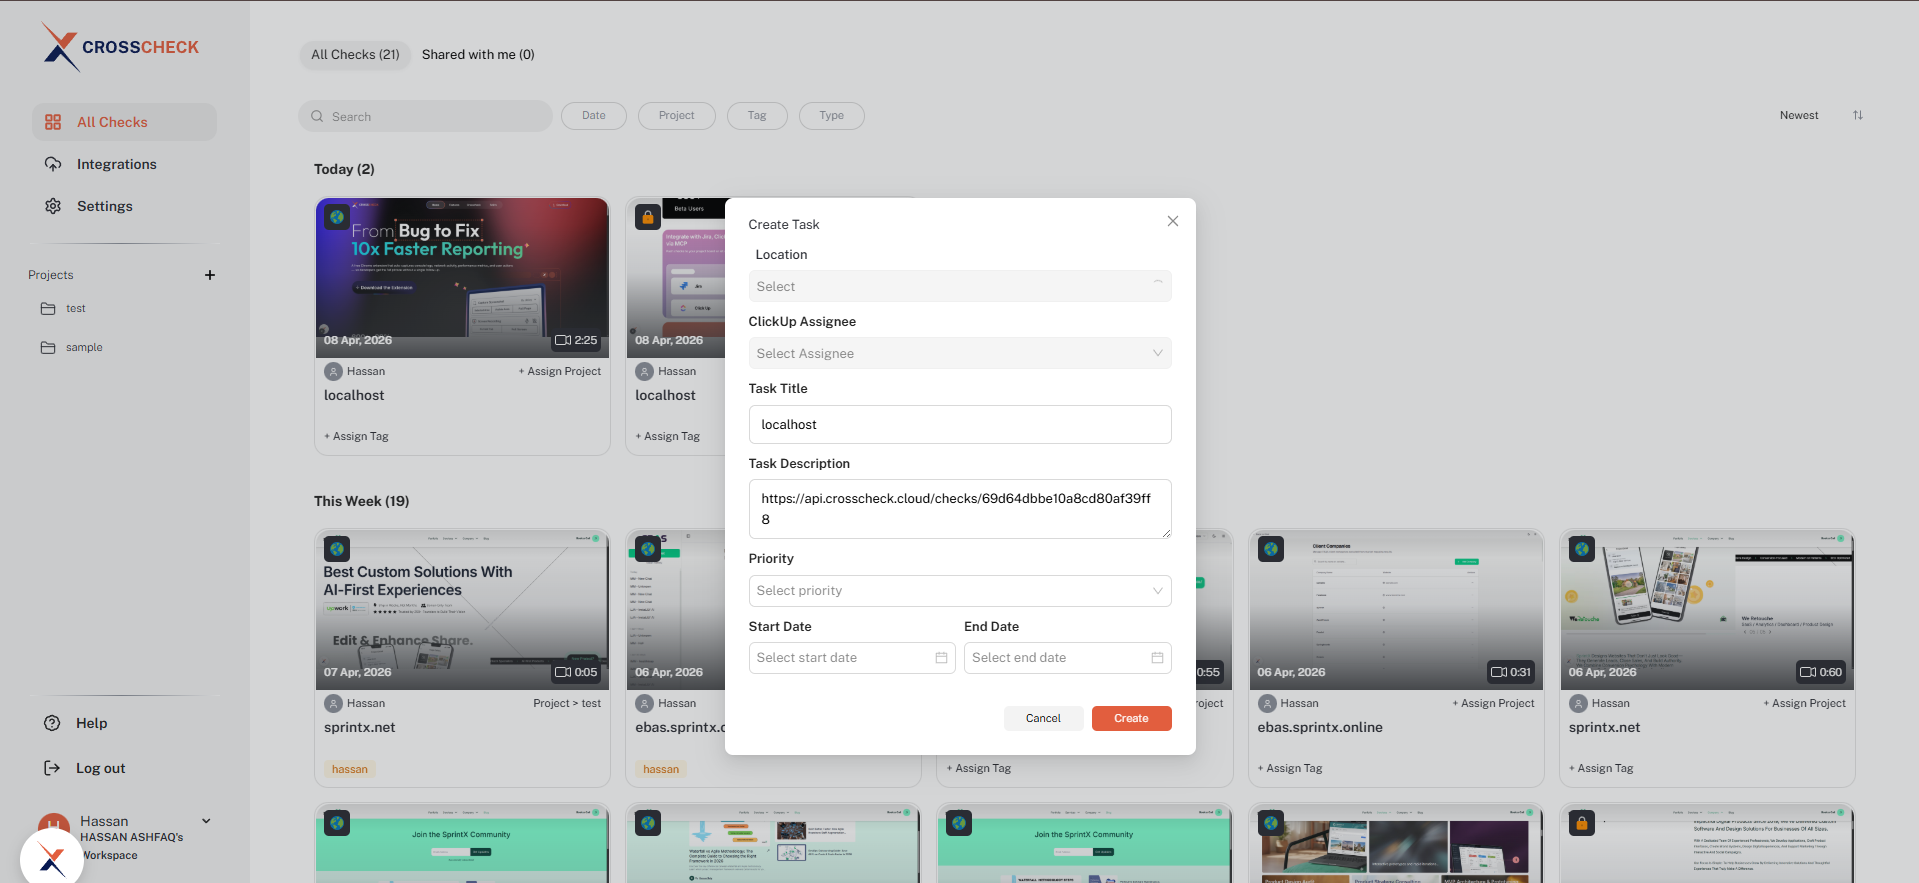
Use the Location dropdown to choose where the task should live in ClickUp. The dropdown drills down through your workspace, space, folder, and list so you can pin the task to the exact list you use for bug tracking.
The Create Task form fields: Location, ClickUp Assignee, Task Title, Task Description, Priority, Start Date, and End Date.
2
Select a ClickUp Assignee
Pick the workspace member the task should be assigned to from the ClickUp Assignee dropdown.
3
Confirm the task details
Review the Task Title (pre-filled with the check name) and the Task Description (pre-filled with a link back to the check in Crosscheck). Edit either field if you need to.
4
Set priority and dates (optional)
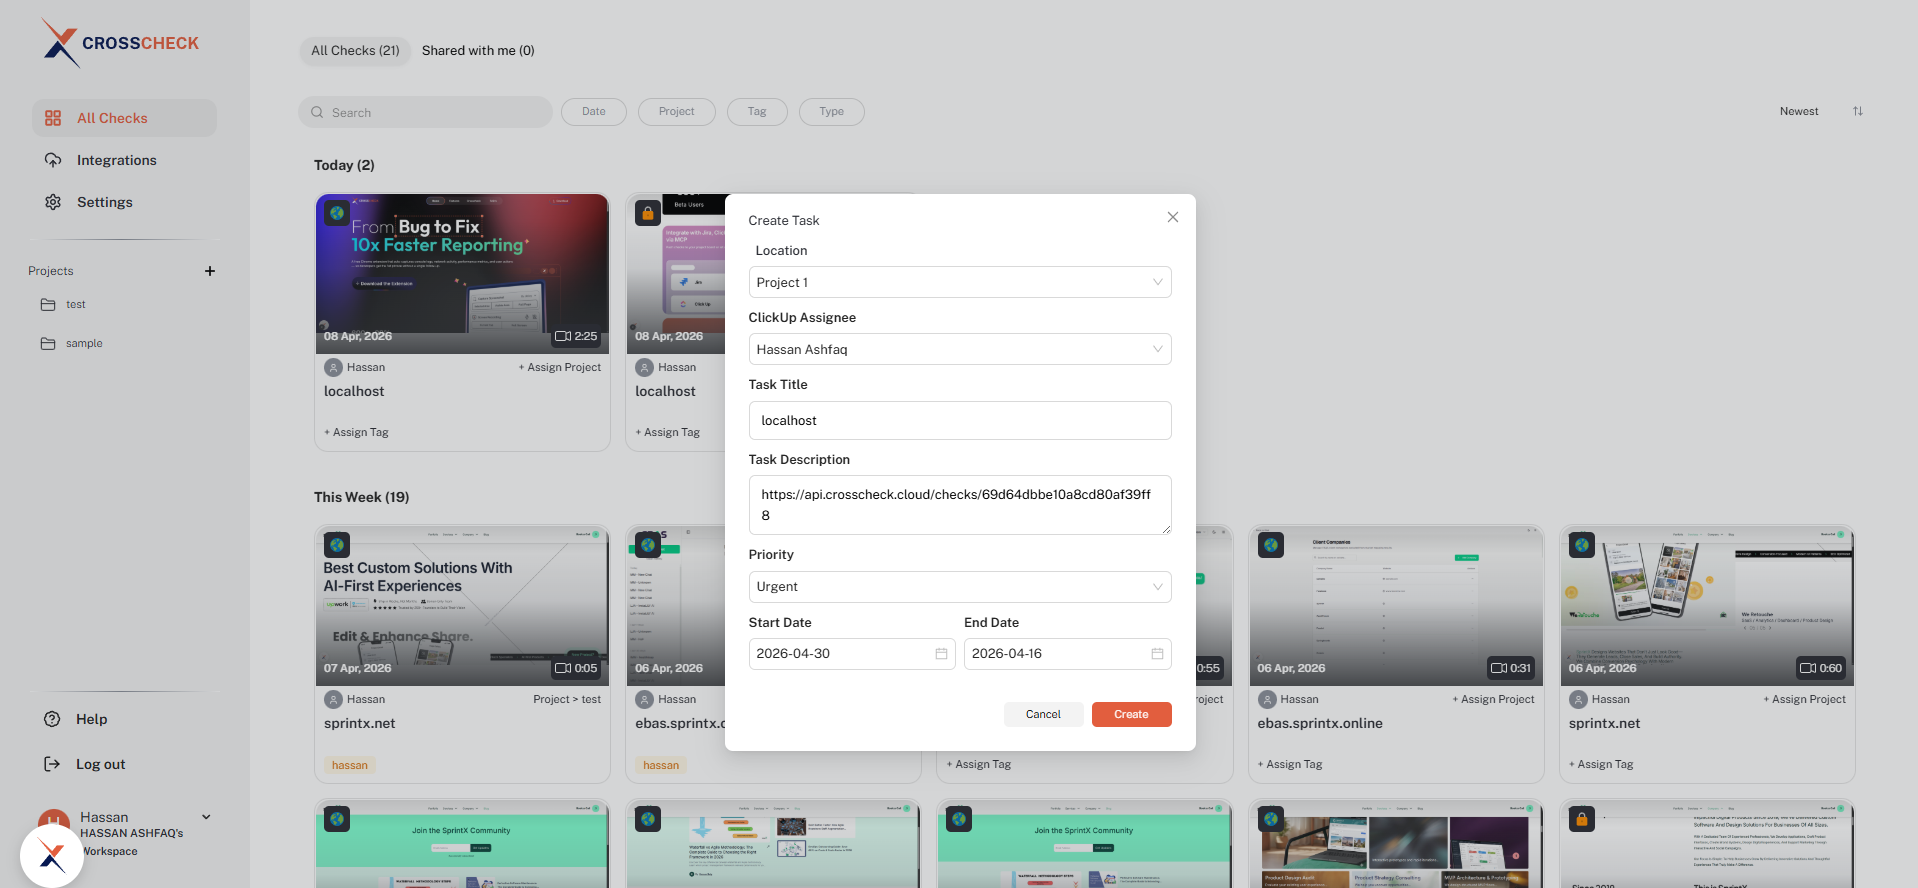
Choose a Priority (Urgent, High, Normal, or Low) and pick a Start Date and End Date if your team uses scheduling in ClickUp.
A fully filled-in ClickUp task form ready to be created.
5
Create the task
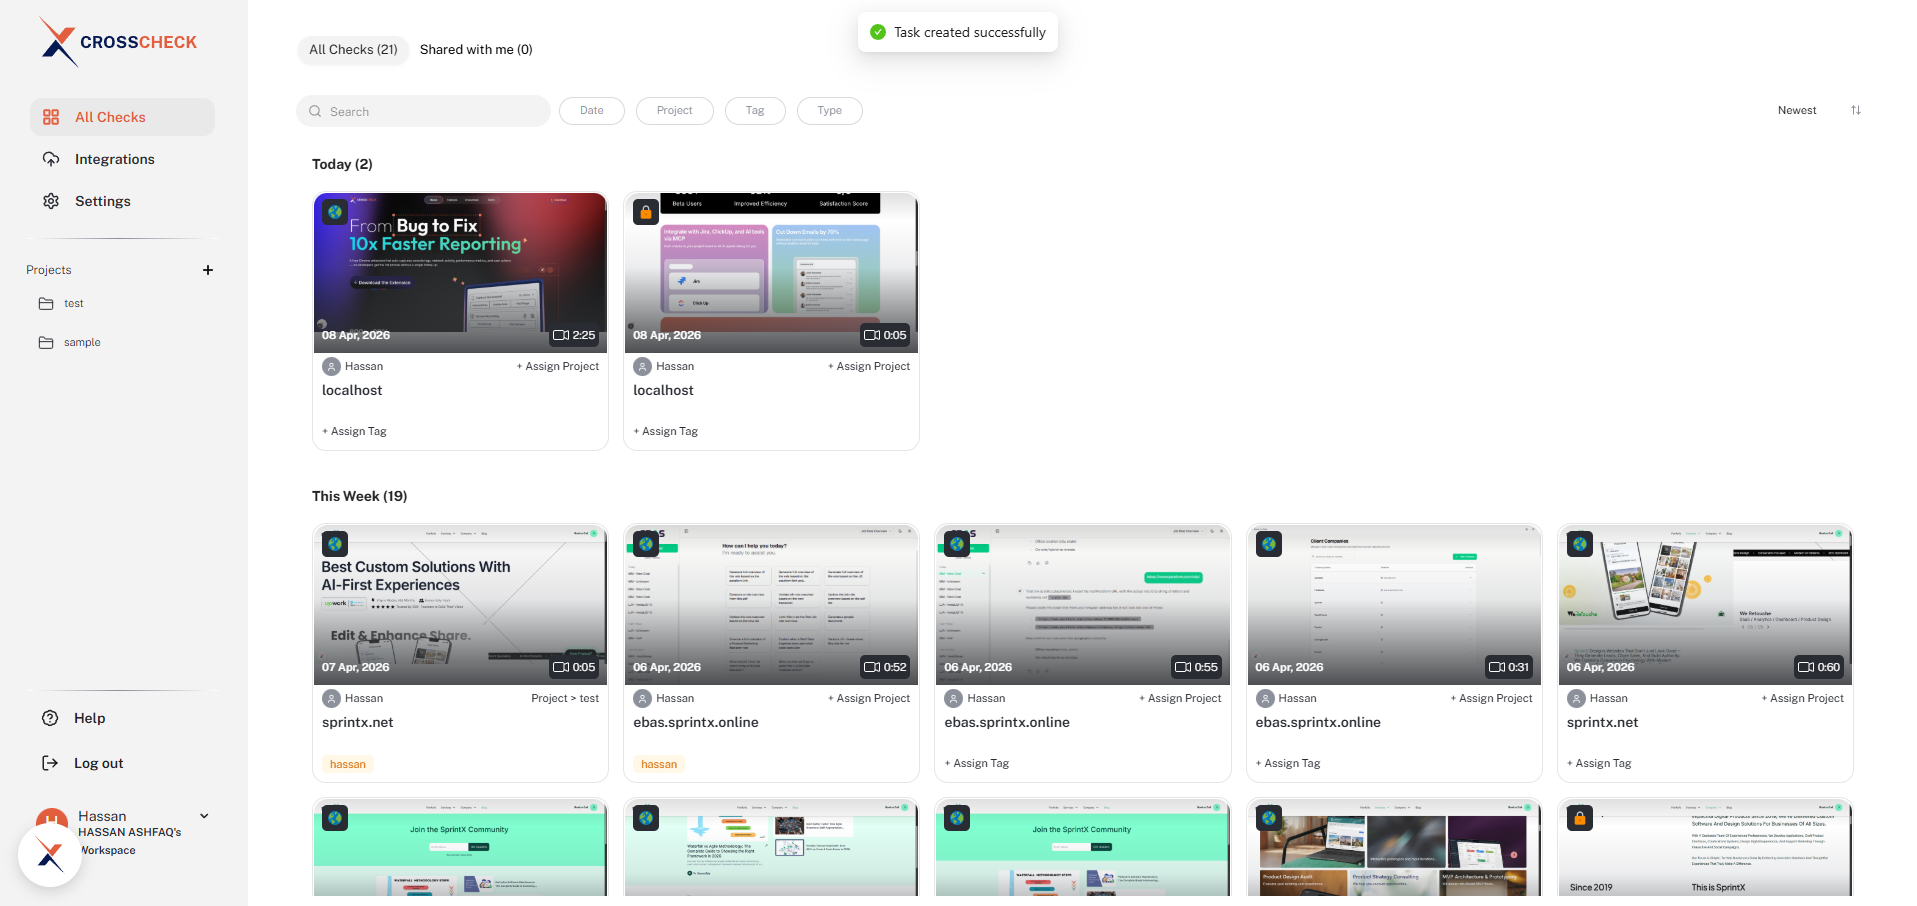
Click Create. A “Task created successfully” toast appears and the task is created in ClickUp at the chosen location, with a link back to the check stored in Crosscheck.
Confirmation toast after the task is created in ClickUp.
Pre-filled details
When creating a ClickUp task, Crosscheck automatically includes a link to the check in the task description. This gives developers quick access to the full check with all its context.
Configuration Fields
Field
Description
Required
Location
Select the workspace, space, folder, and list using the hierarchical dropdown
Yes
Task Name
The task title. Defaults to the check name.
Yes
Description
Pre-filled with a link to the check in Crosscheck
No
Assignee
Assign the task to a ClickUp member
Yes
Disconnecting ClickUp
Open Integrations from the sidebar. On the ClickUp row, click the … menu next to Connected to reveal two options:
Reconnect — re-run the OAuth flow, for example to switch to a different ClickUp account or workspace.
Disconnect — remove the ClickUp connection from Crosscheck. Previously created tasks will remain in ClickUp.
Individual connections
Each workspace member manages their own ClickUp connection. Connect your ClickUp account from the Integrations page to start creating tasks from checks.