Open the Crosscheck dashboard and confirm you are in the workspace where the new project should live.
Click the dropdown icon next to your name and avatar at the bottom of the sidebar to open the workspace switcher.
Your default workspace appears at the top, followed by any other active workspaces you belong to.
Select a workspace to make it the active context for new projects and checks.
2
Open the new project input
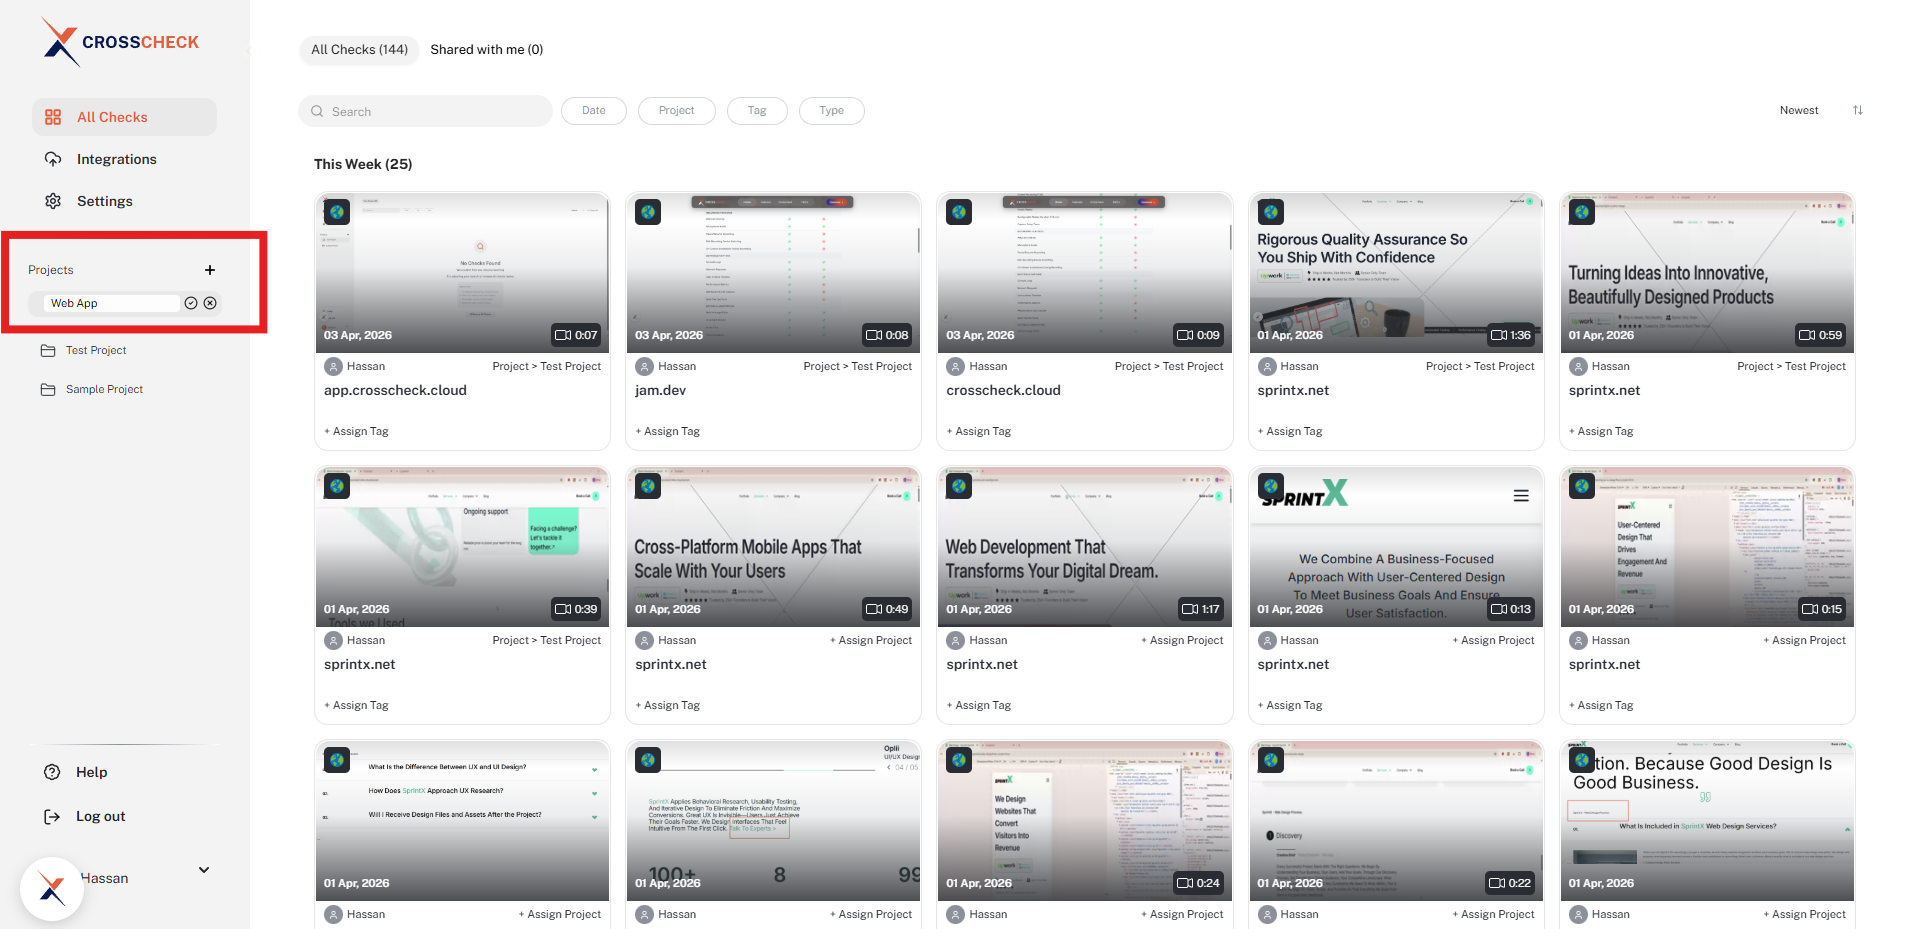
In the left sidebar, find the Projects section and click the + icon next to its label. An inline Enter project name field appears directly below the heading.
The inline project name input in the sidebar.
3
Name and confirm your project
Type a clear, descriptive name such as "Web App v2.0", "Mobile Checkout Flow", or "API Dashboard", then click the check icon to create it (or the × icon to cancel). A "Project created successfully" toast confirms the action and the new project immediately shows up in the sidebar list.
4
Assign checks to your project
Once the project exists, you can populate it with both existing and new checks:
Existing checks — From All Checks, click + Assign Project on any check card (or open the check and use the same option in the detail view) and select your new project. The check will move into that project immediately.
New checks — When you create a new check, click + Assign Project and choose your project. It will appear under that project as soon as it is saved.
Organize with purpose
Create projects that map to real products or features your team is testing. Clear project names make it easy to find and organize checks.
Organizing Tips
By application
Create one project per application or service your team is testing. This keeps checks cleanly separated and makes it straightforward to filter bugs by product.
By sprint or release
For teams running agile, you can create a project per sprint or release cycle. This keeps checks organized by iteration.
Naming best practices
Choose clear, descriptive project names that your team will recognize. For example, use "Mobile App", "API Dashboard", or "Checkout Flow". This makes it easy to identify which project a check belongs to.