Get Started
Create a Workspace
Why Workspaces?
Workspaces let you separate concerns across different teams, clients, or organizations. Each workspace has its own members, projects, and checks. A single Crosscheck account can belong to multiple workspaces.
Setting Up Your Workspace
1
Sign up for Crosscheck
Create your Crosscheck account using your email address or Google sign-in. Crosscheck uses passwordless authentication, so you will receive a one-time code or magic link to verify your identity. No passwords to remember.
2
Complete your profile
After signing in for the first time, you will be asked to provide your first name, last name, and profession. This helps personalize your Crosscheck experience.
3
Start using your workspace
A workspace is created for you automatically. You can rename it at any time from the workspace settings. You can also invite team members by sharing checks with them.
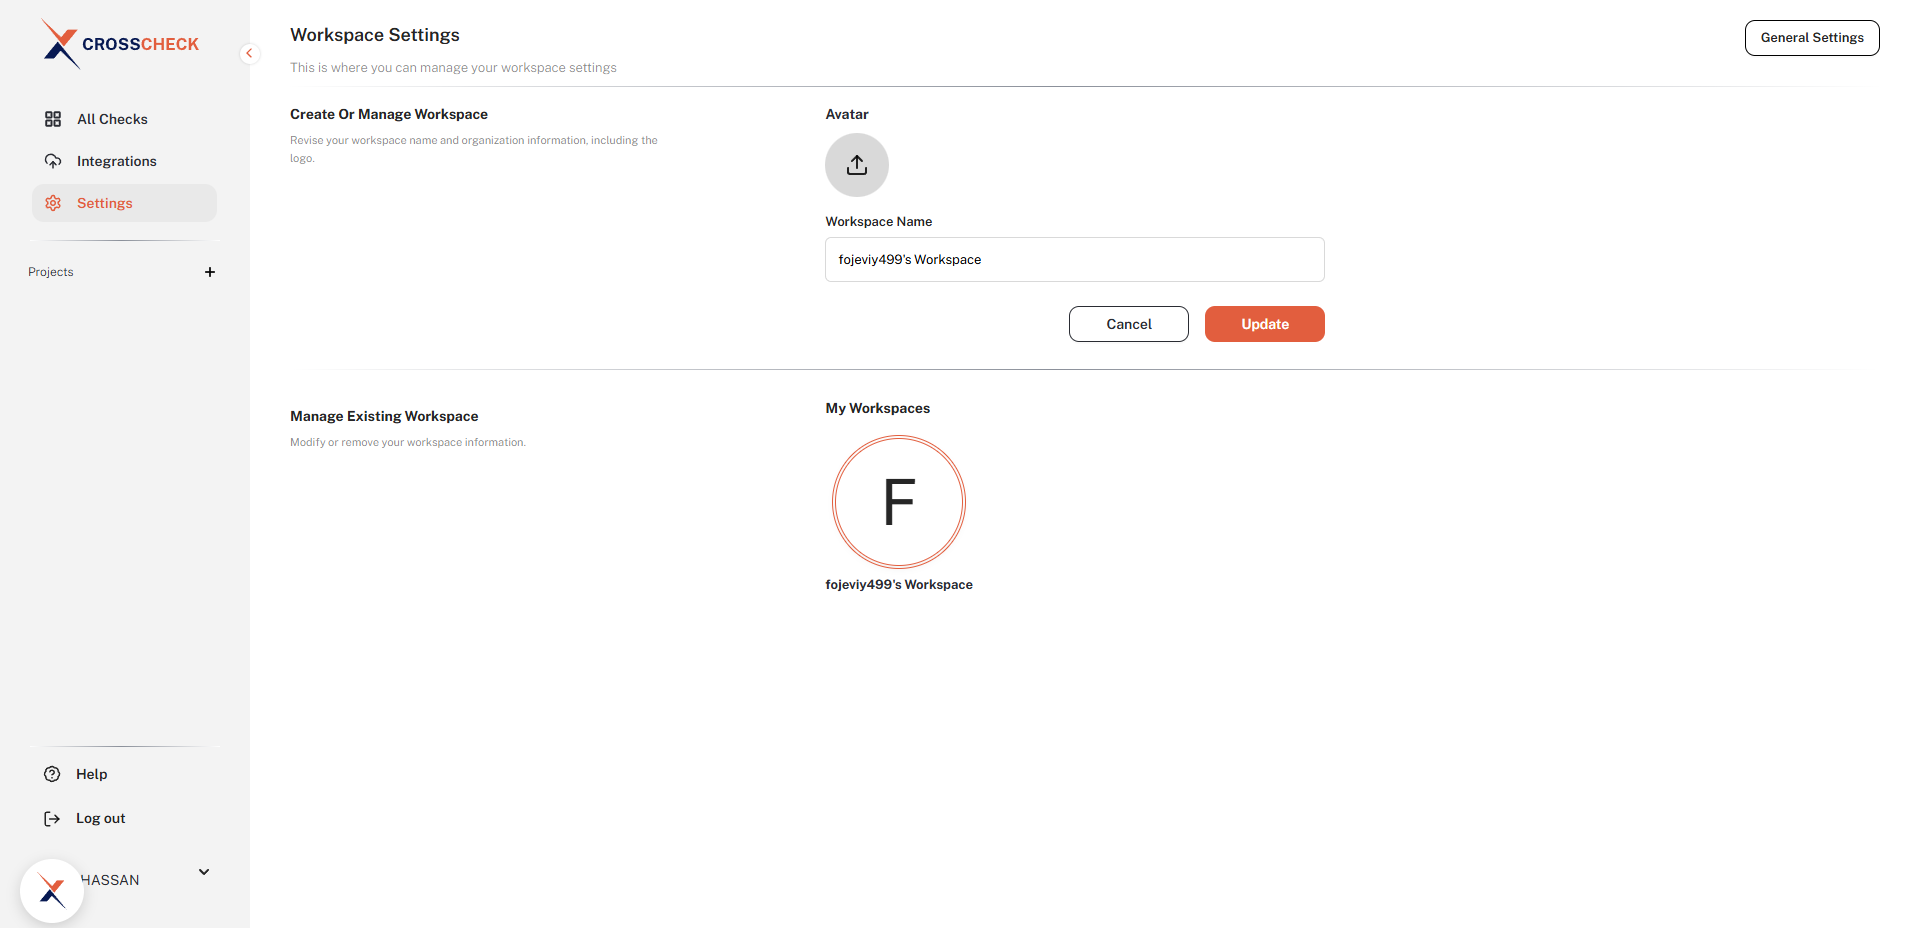
Workspace-level organization
All checks made by members of a workspace are organized under that workspace. If you need to separate checks for different teams, create separate workspaces.
What's Next?
Once your workspace is created, you can start organizing your testing work by creating projects. Each project acts as a folder for checks related to a specific app, feature, or sprint.
Get started quickly
You can start capturing bugs immediately after creating your workspace. Just install the Chrome extension, sign in, and take your first check.
Last updated: March 2026