How to Test APIs from Scratch: A 2026 Beginner's Guide
API testing means sending requests to an application's endpoints — directly, without a browser — and verifying the response, status code, headers, latency, and side effects all match what the contract promises. It is the layer underneath UI testing, and it is where the cheapest bugs to fix usually live. This guide covers HTTP fundamentals, REST vs GraphQL, the auth schemes you will encounter, the tools worth installing in 2026, and the bug categories newcomers miss.
Key takeaways
- An API test is a structured check on a request/response pair: right status, right shape, right data, right latency, right side effect.
- REST still dominates job descriptions; GraphQL is common in newer stacks. Learn REST first.
- Modern auth means Bearer tokens (often OAuth 2.0 with PKCE), API keys for service-to-service, and short-lived JWTs for sessions.
- Postman moved its free tier to single-user in March 2026, pushing many teams toward Bruno, Hoppscotch, and Kong Insomnia.
- Contract testing with Pact is the missing piece most teams skip — and the one that prevents the "frontend assumed v1, backend shipped v2" outage.
What an API is, and what testing it actually means
An API (Application Programming Interface) is a contract between two systems: send me a request shaped like this, and I respond with data shaped like that. For web apps the contract runs over HTTP, with JSON in the body.
UI testing checks whether the app looks right when a human clicks around. API testing checks whether the underlying contract behaves right under every possible request shape — malformed, unauthorised, undocumented. That is why API tests catch a different class of bug and run an order of magnitude faster.
A typical API test asks four questions of a single request/response pair: correct status code, correct body shape, correct values, fast enough, and the right state left behind in the database. Everything below is the mechanics of asking those four questions reliably.
HTTP, the layer everything sits on
Three pieces matter: the method, the status code, and the headers.
Methods — the verbs
REST APIs use a small set of HTTP methods to describe the intent of a request. The five you will use 95% of the time:
| Method | Intent | Idempotent? | Typical success code |
|---|---|---|---|
| GET | Read a resource | Yes | 200 |
| POST | Create a resource (or trigger an action) | No | 201 |
| PUT | Replace a resource entirely | Yes | 200 / 204 |
| PATCH | Update part of a resource | Not always | 200 |
| DELETE | Remove a resource | Yes | 204 |
Idempotent means calling the same request twice has the same effect as calling it once. Reading a user 100 times changes nothing; submitting an order 100 times charges the customer 100 times — the bug class we return to below.
The PUT/PATCH distinction is the most common real-world mistake. PUT replaces: any field you omit gets cleared. PATCH modifies: only the fields you send change. If the docs say PUT and you treat it like PATCH, you will silently wipe data.
Status codes — the response language
Every HTTP response carries a three-digit status code. The dozen below come up every day.
2xx — Success: 200 OK (generic success), 201 Created (new resource exists, typical for POST), 204 No Content (succeeded but no body, typical for DELETE).
4xx — The client got something wrong: 400 Bad Request (malformed), 401 Unauthorized (auth missing or invalid — really means unauthenticated), 403 Forbidden (authenticated but not allowed), 404 Not Found (resource does not exist), 409 Conflict (collides with current state), 422 Unprocessable Entity (well-formed but violates a business rule), 429 Too Many Requests (rate-limited).
5xx — The server got something wrong: 500 Internal Server Error, 502 Bad Gateway (upstream returned garbage), 503 Service Unavailable, 504 Gateway Timeout.
The split that matters: 4xx is your fault as the caller, 5xx is the server's fault. If you send a deliberately malformed payload and the server returns 500 instead of 400, that is a bug — the server should have caught its own bad input.
Headers — the metadata channel
Headers carry everything that is not the body: Content-Type: application/json, Authorization: Bearer <token>, caching (Cache-Control, ETag), correlation (X-Request-ID), and content negotiation (Accept). Most API bugs that look mysterious turn out to be missing or wrong headers — sending JSON without Content-Type: application/json, or sending a Bearer token to an endpoint that wanted an API key.
REST vs GraphQL: the two architectures you will meet
REST is still the default in 2026 — it underpins Stripe, GitHub, Twilio, AWS, and most enterprise systems. GraphQL has carved out real share in newer product companies and mobile-heavy stacks where over-fetching hurts. Both are worth understanding.
| REST | GraphQL | |
|---|---|---|
| Endpoints | One per resource (/users, /orders/42) | One total (usually /graphql) |
| Methods | All of GET, POST, PUT, PATCH, DELETE | Almost always POST |
| Response shape | Fixed per endpoint | Client decides per query |
| Over-fetching | Common | Rare by design |
| Caching | Easy (HTTP cache, CDN) | Harder (POST is not cacheable by default) |
| Error reporting | Status codes | Always 200; errors in body |
| Tooling maturity | Massive | Strong and growing |
| Best for beginners | Start here | Learn after REST |
The single most confusing thing about GraphQL coming from REST is that every successful query returns 200, even when the data fetch fails. Errors live inside the response body under an errors array. If you assert only on status === 200, you will miss every failure. Always assert on body.errors being absent.
One round trip in GraphQL replaces what would have been three in REST (/users/42, /users/42/orders, and possibly an N+1 per order). That benefit is also where GraphQL bites — see the n+1 section below.
Authentication schemes you will actually encounter
Four schemes cover almost every API you will test.
API keys — a static string in a header (often X-API-Key) or query parameter. Common for server-to-server integrations (Stripe, OpenAI, Anthropic). Easy to test, easy to leak — treat them like passwords.
Bearer tokens — Authorization: Bearer <token>. The token is usually a JWT (JSON Web Token), a base64-encoded payload containing the user ID, expiry, and scopes, signed by the server. Log in once, grab the token, attach it to subsequent requests. Always test what happens when the token is expired, malformed, or scoped to the wrong resource.
OAuth 2.0 — a protocol, not a token format; Bearer tokens are usually issued by OAuth. The flow that matters is Authorization Code with PKCE, the 2026 default for both web and native clients. For testing, you do not run the full browser dance every time — you exchange a refresh token or use a long-lived test token issued by the auth provider.
Session cookies — set by the server after login, sent back automatically by the browser. Still common for first-party web apps. Capture the Set-Cookie from a login request or rely on the client's cookie jar.
A boundary test every API needs and every beginner forgets: call a protected endpoint with another user's token. If you get 200 and somebody else's data, you have found BOLA — Broken Object Level Authorization — number one on the OWASP API Security Top 10. Single highest-leverage test in the entire QA toolkit.
The 2026 API testing tool landscape
Tooling shifted noticeably in the last year, mostly because Postman moved its free tier to single-user only in March 2026, breaking the small-team workflow that made it dominant for a decade.
Postman — still the most feature-complete platform: collections, mock servers, monitors, AI test generation, and Newman for CI. Free plan is one user; teams of two or more need the Team plan at $19/user/month.
Bruno — open-source, file-based, Git-native. Every collection is stored as plain text in a .bru file you commit alongside your code — no cloud, no account, no telemetry. The free version covers REST, GraphQL, scripting, environments, OpenAPI imports, and the Bru CLI. The Golden Edition ($19 one-time) adds gRPC, WebSocket, MQTT, performance testing, and an OpenAPI designer. Cleanest fit for teams who want API tests to live in the same repo as the code.
Kong Insomnia — open-source under Apache 2.0, owned by Kong since 2019. Covers REST, GraphQL, gRPC, WebSockets, Server-Sent Events, and SOAP. Strong default for GraphQL-heavy stacks; schema introspection and autocomplete are excellent. Collections can live locally, in Kong's cloud, or in a Git repo.
Hoppscotch — open-source, browser-first, lightweight. Runs in the browser, on desktop, and as a CLI, with support for HTTP, GraphQL, WebSocket, Socket.IO, MQTT, and Server-Sent Events. The 2026.4 release added collection-level pre-request and test scripts. Self-hostable, which matters for teams that cannot send request data to a third party.
curl — the universal HTTP client. Not pretty, but installed on every Unix system and scriptable from anywhere:
curl -X POST https://api.example.com/orders \
  -H "Authorization: Bearer $TOKEN" \
  -H "Content-Type: application/json" \
  -d '{"sku":"ABC-123","qty":2}'
HTTPie — the friendlier curl. Same job, half the flags, automatic JSON highlighting:
http POST api.example.com/orders \
  Authorization:"Bearer $TOKEN" \
  sku=ABC-123 qty:=2
The := syntax makes qty a number rather than a string — a small detail that catches a lot of beginners. HTTPie supports sessions, plugins (including JWT auth), and --check-status for non-zero exit codes on 4xx/5xx, which makes it scriptable.
What to install in 2026: Bruno or Hoppscotch as your GUI client, plus curl or HTTPie for shell scripts and CI. That stack costs nothing, works offline, and version-controls cleanly. Postman remains a fine choice if you need its collaboration tooling and have the budget. Get good at one before adding a second. For a wider tool comparison, see the best bug reporting tools of 2026.
Your first REST test
We will use JSONPlaceholder — a free, no-auth REST API designed for exactly this purpose.
Send a GET to https://jsonplaceholder.typicode.com/posts/1. You should get a 200 with a JSON body like { "userId": 1, "id": 1, "title": "...", "body": "..." }. A manual eyeball check is not a test. In Postman or Hoppscotch, switch to the Tests tab and write:
pm.test('Status code is 200', function () {
  pm.response.to.have.status(200);
});

pm.test('Response has the expected shape', function () {
  const body = pm.response.json();
  pm.expect(body).to.have.all.keys('userId', 'id', 'title', 'body');
  pm.expect(body.id).to.equal(1);
  pm.expect(body.title).to.be.a('string').and.not.empty;
});

pm.test('Response is fast enough', function () {
  pm.expect(pm.response.responseTime).to.be.below(500);
});
Three assertions, three properties: status, shape, latency. That is the minimum bar for a useful API test. Then add the negative path — GET /posts/99999 should return 404, not 200 with an empty object. Most beginners forget the negative path is where the bugs live.
Hardcoding https://jsonplaceholder.typicode.com everywhere is a maintenance trap. Every modern client supports environments — define base_url once, reference {{base_url}}/posts/1, and switching between dev, staging, and prod becomes one dropdown.
Your first GraphQL test
GraphQL needs a slightly different pattern because the protocol does not surface errors in the status code. Point your client at a public playground — GitHub's at https://api.github.com/graphql with a personal access token works well.
query Viewer {
  viewer {
    login
    name
    repositories(first: 3, orderBy: { field: UPDATED_AT, direction: DESC }) {
      nodes {
        name
        stargazerCount
      }
    }
  }
}
pm.test('HTTP 200', function () {
  pm.response.to.have.status(200);
});

pm.test('No GraphQL errors', function () {
  const body = pm.response.json();
  pm.expect(body.errors, JSON.stringify(body.errors)).to.be.undefined;
});

pm.test('Login present and non-empty', function () {
  const body = pm.response.json();
  pm.expect(body.data.viewer.login).to.be.a('string').and.not.empty;
});
The middle assertion is the one beginners skip — and it is the one that catches every partial-failure scenario GraphQL is famous for.
Assertion strategy: what to actually check
The temptation as a new tester is to assert on every field in the response. Resist it. Over-asserting creates brittle tests that fail on harmless backend additions and train your team to ignore red builds. The rules:
- Always assert on the status code — one line, catches half of all regressions.
- Assert on the fields you care about for this test's behaviour. A test for "user signup returns the new user's email" should check
body.email, notbody.created_at(unless creation timing is the point). - Use shape assertions, not full-body equality. "Response has keys X, Y, Z" survives backend additions; "response equals this exact JSON" does not.
- Bound your latency assertions. A 500ms test on a 50ms endpoint catches 10x regressions without flaking on coffee-shop wifi.
- Test the boundaries. Empty string, null, very long string, negative number, future date, past date, Unicode, SQL keywords. Most bugs live at the edges.
The same principles drive good bug reports — capture exactly the evidence that proves the bug, and nothing more.
Contract testing with Pact
Functional API tests answer "does this endpoint work?". Contract tests answer a different question: "do the producer and the consumer still agree on the shape?". In a microservices world, that second question is where most outages live.
Pact is the de-facto open-source contract tool. It is consumer-driven: the consumer (frontend, mobile app, another service) writes a test that describes exactly which requests it makes and which responses it expects. Pact generates a .pact JSON file from those tests. The producer then runs that file against its actual API and either passes or fails. The producer team can refactor freely as long as the parts of the API the consumer actually uses still behave the same.
Pact 4.x supports asynchronous message contracts (Kafka, SQS, RabbitMQ), so the same model works for event-driven systems. The hosted broker PactFlow runs a can-i-deploy check in CI that blocks deploys whose contracts no longer match production. Teams skip Pact because the up-front cost is higher than unit testing and the value only shows up the first time it stops a bad deploy. The teams that adopt it rarely go back — the alternative is finding the same break in a Friday-afternoon incident. For wider context, see SQA methodologies and real-world case studies.
WebSockets and real-time APIs
Not every API is request/response. Chat, live dashboards, multiplayer apps, and financial tickers run over WebSockets — a long-lived TCP connection upgraded from HTTP, where either side can send messages at any time.
Testing WebSockets needs a different mindset. There is no status code to assert on; you assert on message sequences. A useful first test plan: connect with valid auth and assert the handshake returns 101 Switching Protocols, send a known subscribe message, wait for the expected acknowledgement within a bounded time, trigger a server-side event and assert the socket receives the broadcast, then disconnect and assert the server cleans up.
Bruno Golden Edition, Hoppscotch, and Kong Insomnia all support WebSocket connections natively — same tool you use for REST. For automated coverage, ws for Node, websocket-client for Python, or Playwright's page.waitForEvent('websocket') give full programmatic control.
The bugs beginners miss
The most useful section of any API testing guide is the one that names the bugs that will bite you in production. Four categories show up repeatedly.
Idempotency. A user double-clicks "Place Order". The frontend fires the same POST twice. With no safeguard, the server charges the card twice. The fix is an idempotency key — a UUID the client generates per logical action, which the server stores and uses to deduplicate (Stripe's API is the canonical reference). Always test sending the same key twice and confirm the second response returns the original result, not a fresh action.
Race conditions. Two requests modify the same resource at almost the same instant. Without optimistic concurrency control (an ETag or version field the client must echo back), one update silently overwrites the other. Fire two PUTs concurrently from your test harness and assert that the loser gets 409 Conflict, not a silent 200. Most production APIs fail this test the first time you try it.
N+1 queries. A single GraphQL query asking for "users and their orders" can trigger one query for the users plus one per user for their orders. Looks fine in dev with 10 users; falls over the moment a real account has 10,000. Hit the list endpoint with a realistic fixture, time it, and inspect the SQL log via Apollo tracing or your APM.
Pagination edge cases. What happens at page=0? At page=-1? At a page beyond the last? With page_size=1000000? With a cursor that has been deleted? Every one of these has shipped as a real bug from a real company in the last twelve months. Pagination is boring, which is why nobody tests it, which is why it breaks.
Beyond those four: only testing the happy path (write tests for 400, 401, 403, 404, 409, 422, 429, and 500 too), ignoring the error body, asserting on everything, hardcoding environments, skipping authorisation boundary tests, not cleaning up created test data, and testing against production. If staging does not exist for your team, that is the first thing to fix.
FAQ
What is the difference between API testing and integration testing?
API testing checks one endpoint or one service in isolation against its contract. Integration testing checks that two or more components work together end-to-end. An API test verifies /orders returns 201; an integration test verifies that creating an order also deducts inventory and fires the confirmation email. API tests are fast and narrow; integration tests are slow and wide.
Do I need to know programming to test APIs?
No, to start. Postman, Bruno, Hoppscotch, and Kong Insomnia all let you build, send, and assert through a GUI. To scale past a few dozen tests, basic JavaScript or Python helps — knowing how to read a JSON object and write an if statement covers most of what you will need.
How is REST API testing different from GraphQL testing?
Mechanically very similar — both are HTTP requests with assertions on the response. The differences that matter: GraphQL almost always returns 200 (errors live in the body), every GraphQL request is a POST regardless of intent, and the query shape changes per request. Always assert on the absence of an errors array, not just the status code.
Which API testing tool should I learn first in 2026?
For a Git-native, file-based workflow, Bruno. For a browser-first tool with zero install, Hoppscotch. If your team already pays for Postman, stay there. The skills transfer between tools — what you learn about HTTP, methods, status codes, and assertions will outlast any single client.
What is contract testing and do I need it?
Contract testing — most commonly via Pact — verifies two services still agree on the shape of the data passed between them, even after either side ships changes. You need it once you have more than one team and more than one service. For a single monolith, classic API tests are enough.
File API bugs with full evidence — automatically
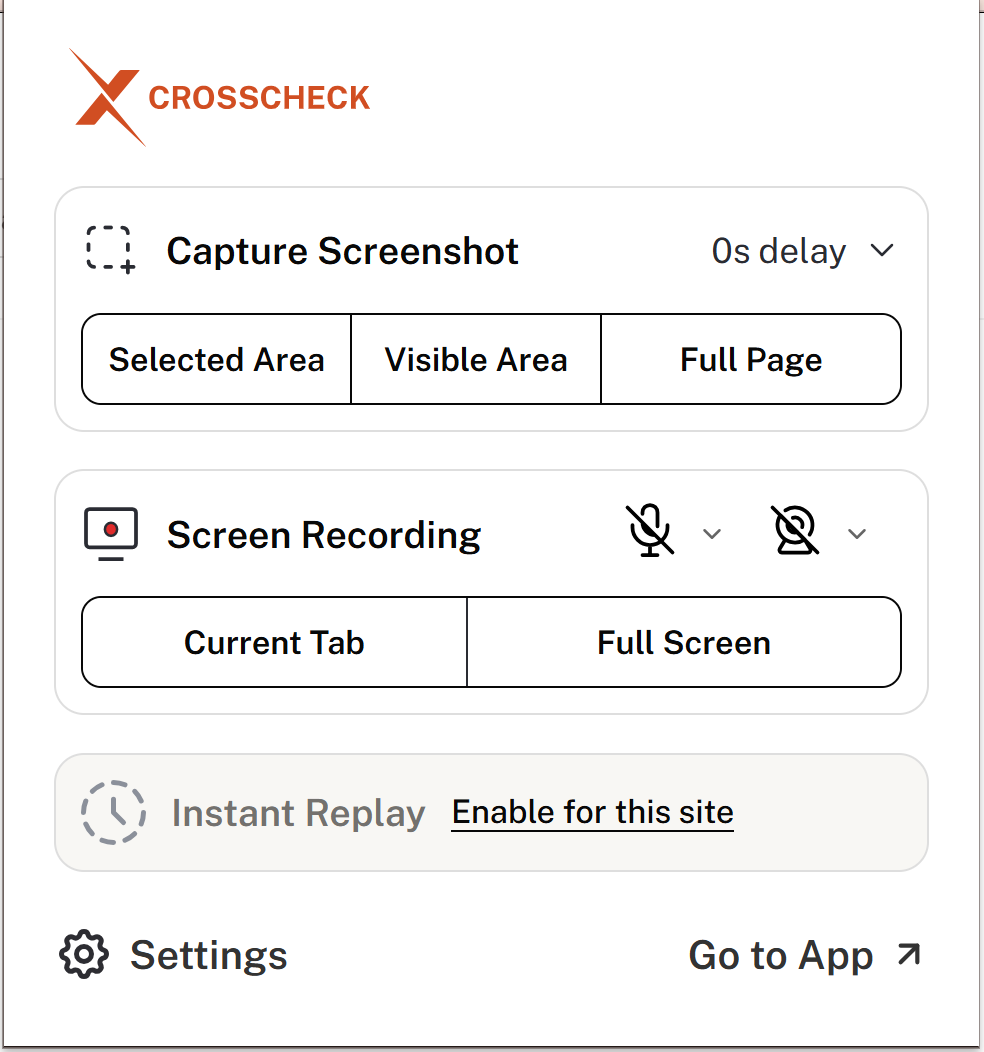
API testing tools cover the planned, scripted half of the job. The other half is what you find while clicking through the app — the half-broken endpoint, the 503 that only fires on the third login, the GraphQL query returning 200 with an errors array nobody is reading. Those bugs are real, and they usually get filed as "the page didn't load" because capturing the network evidence by hand is tedious.
Crosscheck is a free Chrome extension that handles the capture automatically. While you exercise the app, it records every network request — URL, method, headers, body, status, response — alongside console logs, a video, and the user actions that led to the failure. Click once when you spot a bug and the whole bundle ships to Jira, Linear, ClickUp, GitHub, or Slack. Your developer opens the ticket with POST /api/checkout and body {"error":"insufficient_stock","sku":"ABC-123"} already attached. No "can you reproduce it again with the network tab open?" follow-up.